15 - Post Processing
The post processing stack features a bunch of 2D Effects you can apply to the rendered image or during the rendering process. Many of these effects try to replicate effects that appear in real-world film making, like grain, vignettes and chromatic aberration. Other effects are more about faking some elements computers can’t really calculate correctly in real-time. Examples are screen space reflections and motion blur.
Setup
Since introducing Unity 2017.3 - and you should not be on a version prior to that - we install the post processing stack via the Package Manager. Window --->Package Manager. Look for “Post Processing” and add the Package.
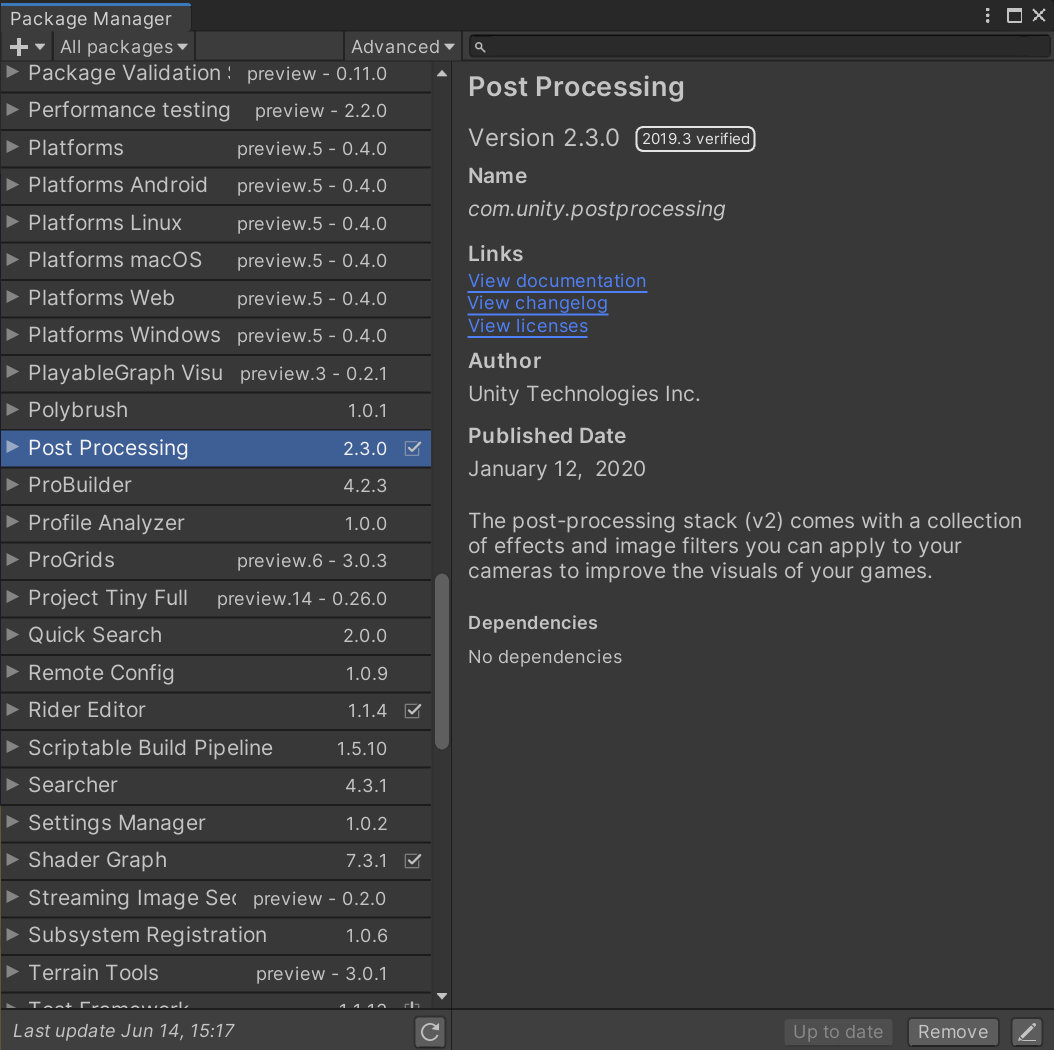
Package Manager
To get the effects working, we need to set it up in several places. The first place will be the camera. Here we will add the Post-process layer component.
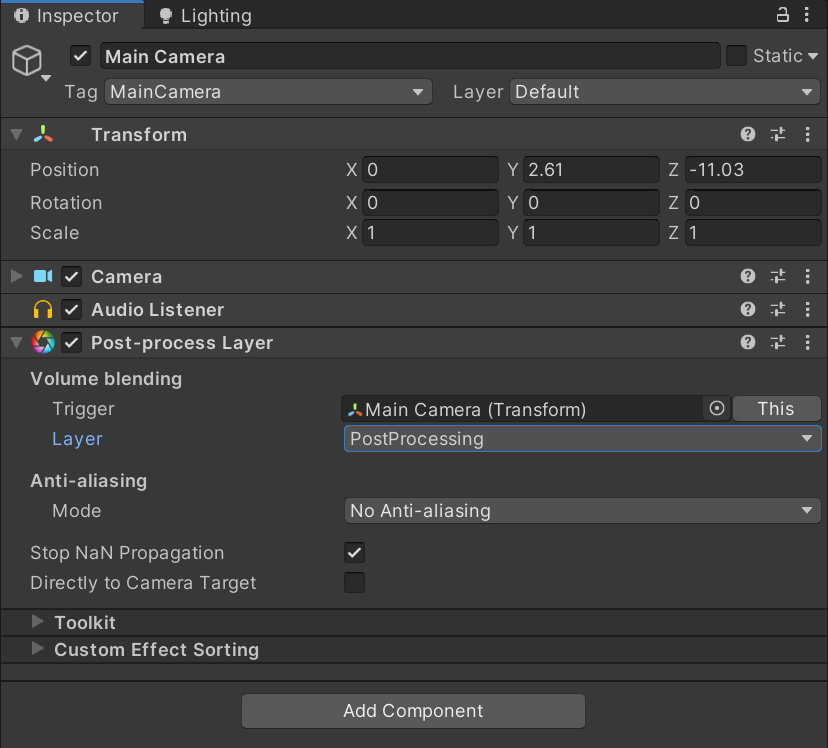
Post Processing Layer
On this component, we will set the Layer to “Post-Processing”. Next up is creating a post-processing volume. We call these volumes because Unity allows you to define spaces in which it applies certain effects. You can then even blend between these. You could for example have a different set of post processes inside and outside of a building.
Start with creating an empty GameObject and add the Post-process Volume component to it. For now, you can go ahead tick the Is Global checkbox. This will disable the volume feature and will apply the effect to the entire scene. Which really is what we need right now.
The last thing we need is a “Post-processing Profile”. We create these in the project view. Right-click ---> Create ---> Post-Processing profile. This where you will define which effects to apply to your scene. To get it working you will need to drag it into the Profile Slot on the Post-processing Volume. Now it’s time to play!
Also interesting to note is, that here we can set Anti Aliasing settings, which will reduce the “stair stepping” effects that often can happen on harsh contrasting diagonal lines. Fast Approximate Anti Aliasing (FXAA) is a solid choice for general use. If you are sure, you are going for high performance device you can choose Temporal Anti Aliasing (TAA).
Overview over the effects
No Effects
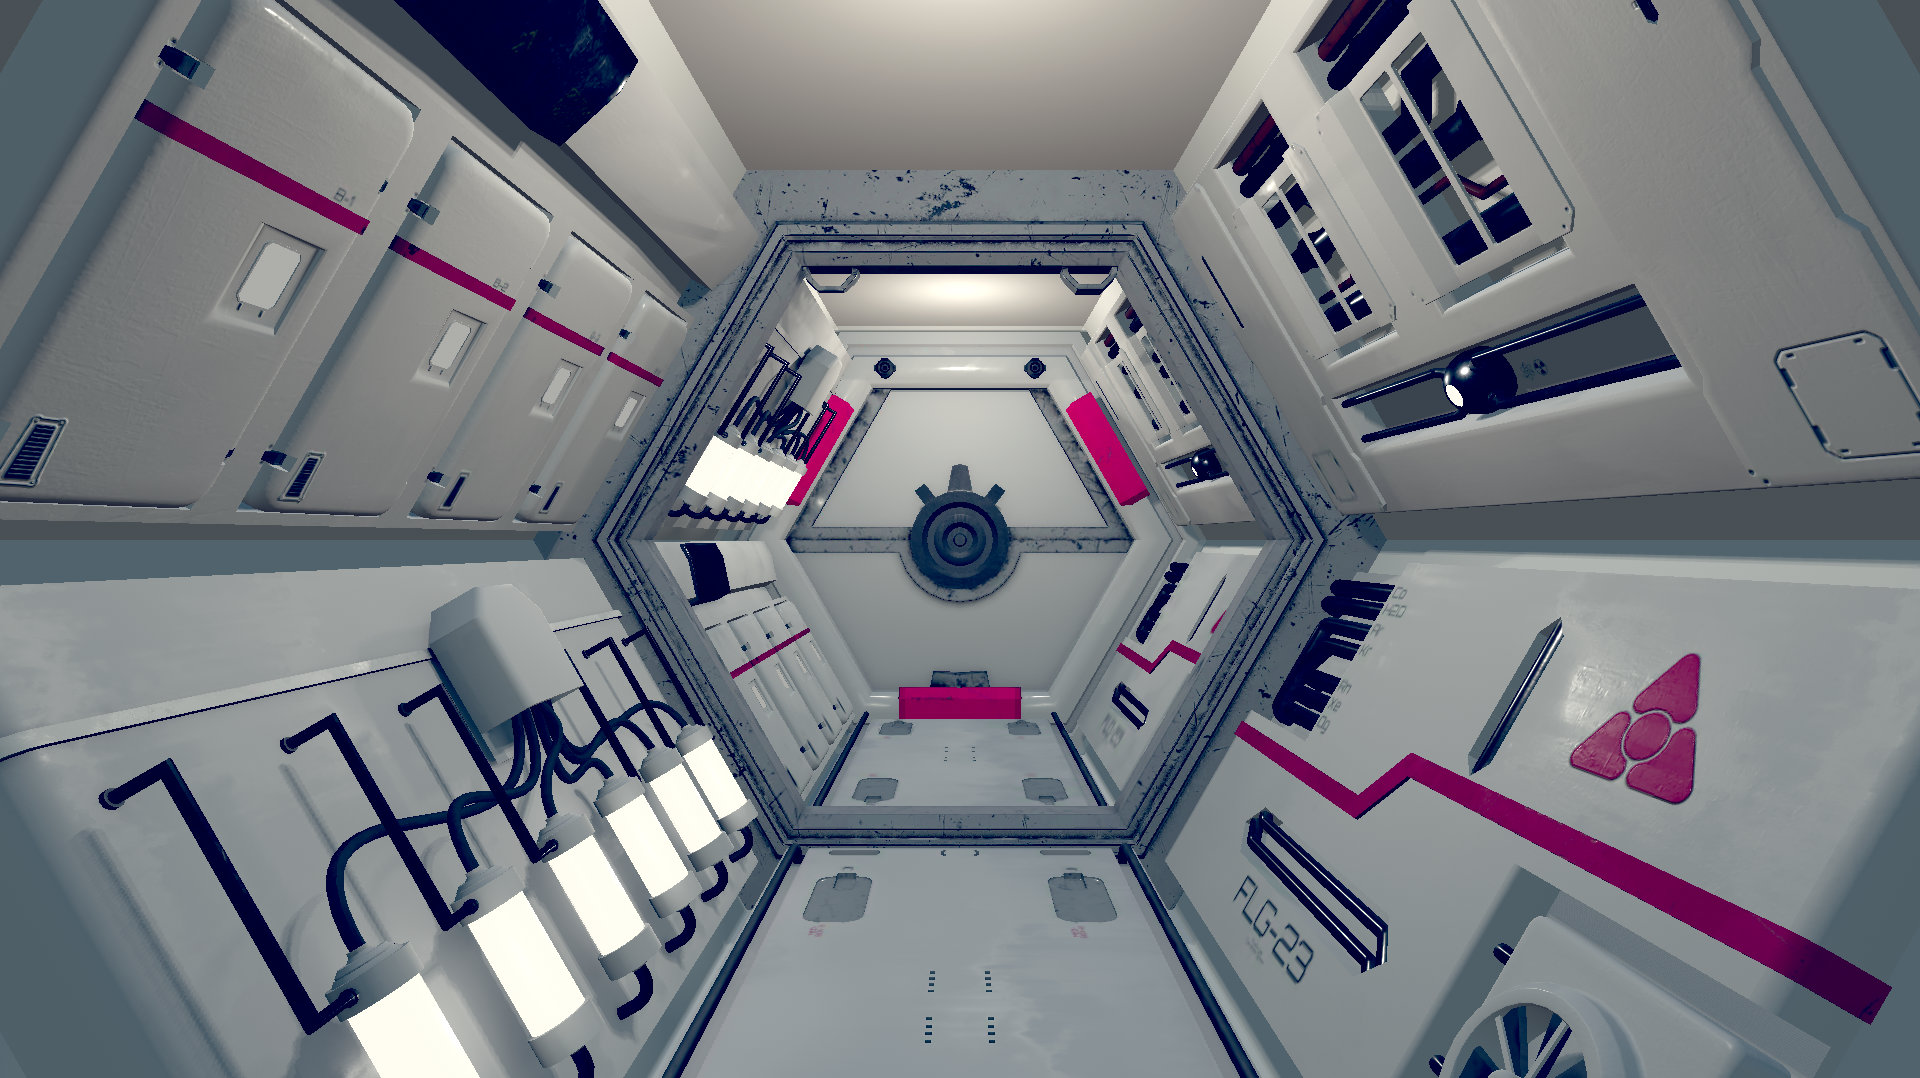
To see how these effect our scenes we need to have something to compare against. As an example we will use the corridor we will create in a later chapter. Our Cuboids aren’t particularly well suited to explain these effects. Thus this is the image we will apply the effects to and discuss their effect:
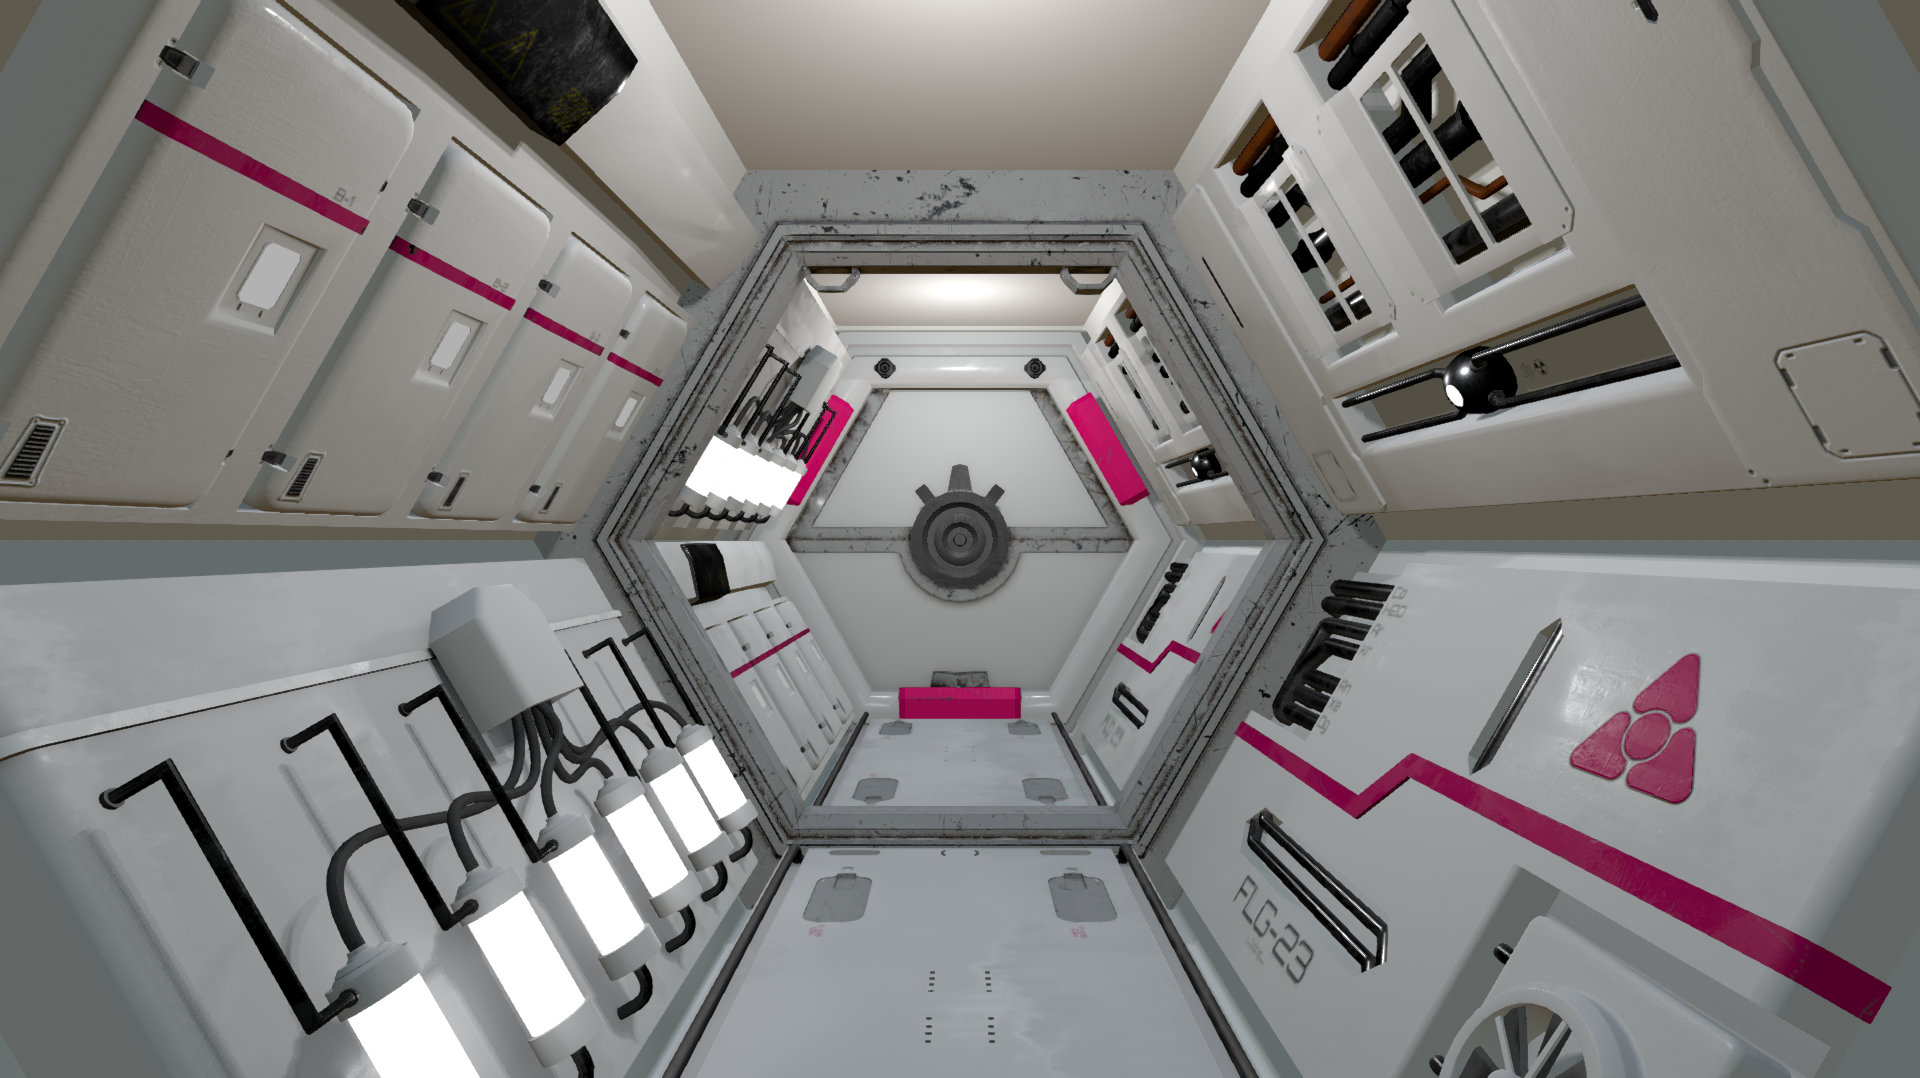
No Postprocessing Effects applied
Some of these effects are very subtle, so look closely. Some effects are especially prevalent in the corners of the image.
Screen space Reflections
We will start with the more “technical” effects, as we will need them in coming chapters. Screen space Reflections are an effect that adds fake reflections to your objects. They use the already rendered image and add it again on top of it. (It is more sophisticated than that, but you get the idea.) The smoothness of a material will determine how sharp these reflections will.
If you compare this to the reference image you should see the effect especially strong on metal surfaces, as these are reflective and relatively dark to begin with.
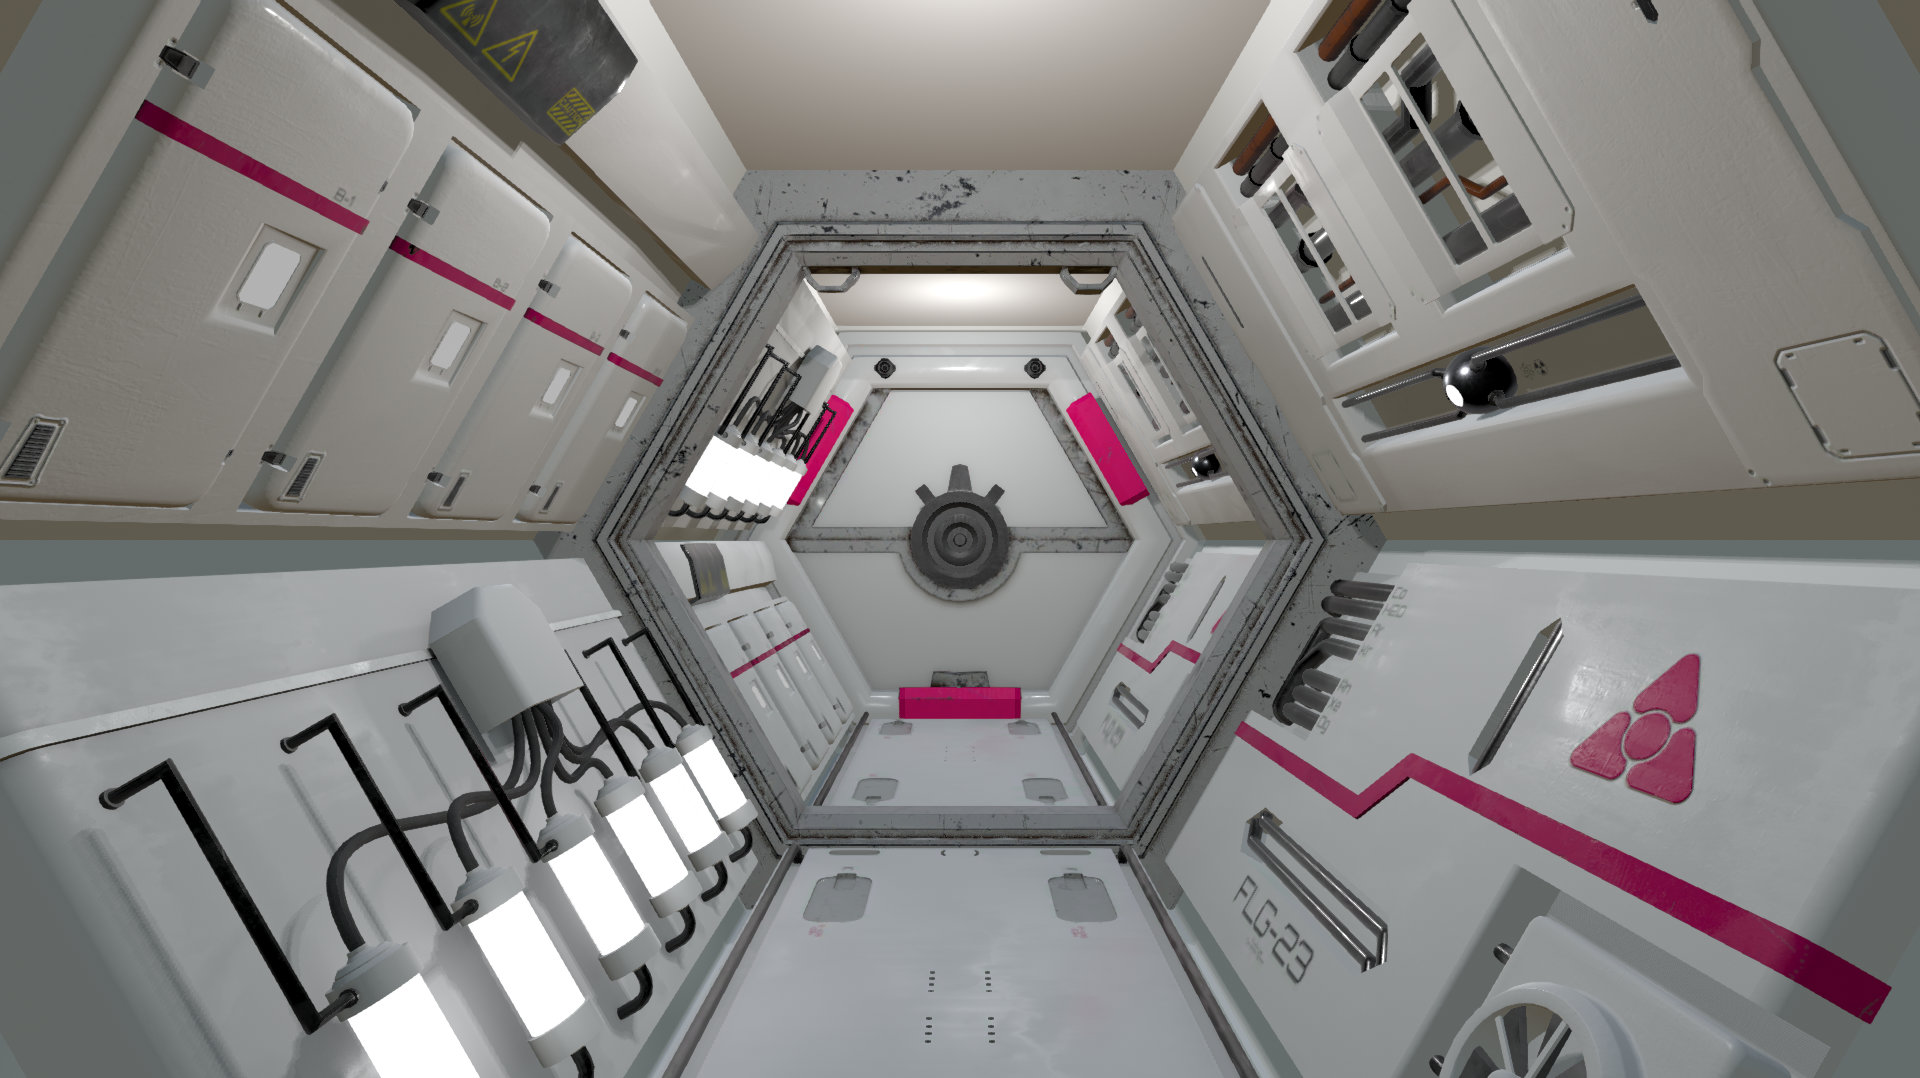
Screenspace Reflections
Ambient Occlusion
Ambient Occlusion(AO) is a fake that tries to emulate the shadowing in corners. If you use Global Illumination in your scene, this effect is already baked into your lightmaps. Adding AO will have an overly enhanced effect and can look very CG-ish. Thus be careful while using this. But of course this can help in adding contrast to your image and grounding elements.
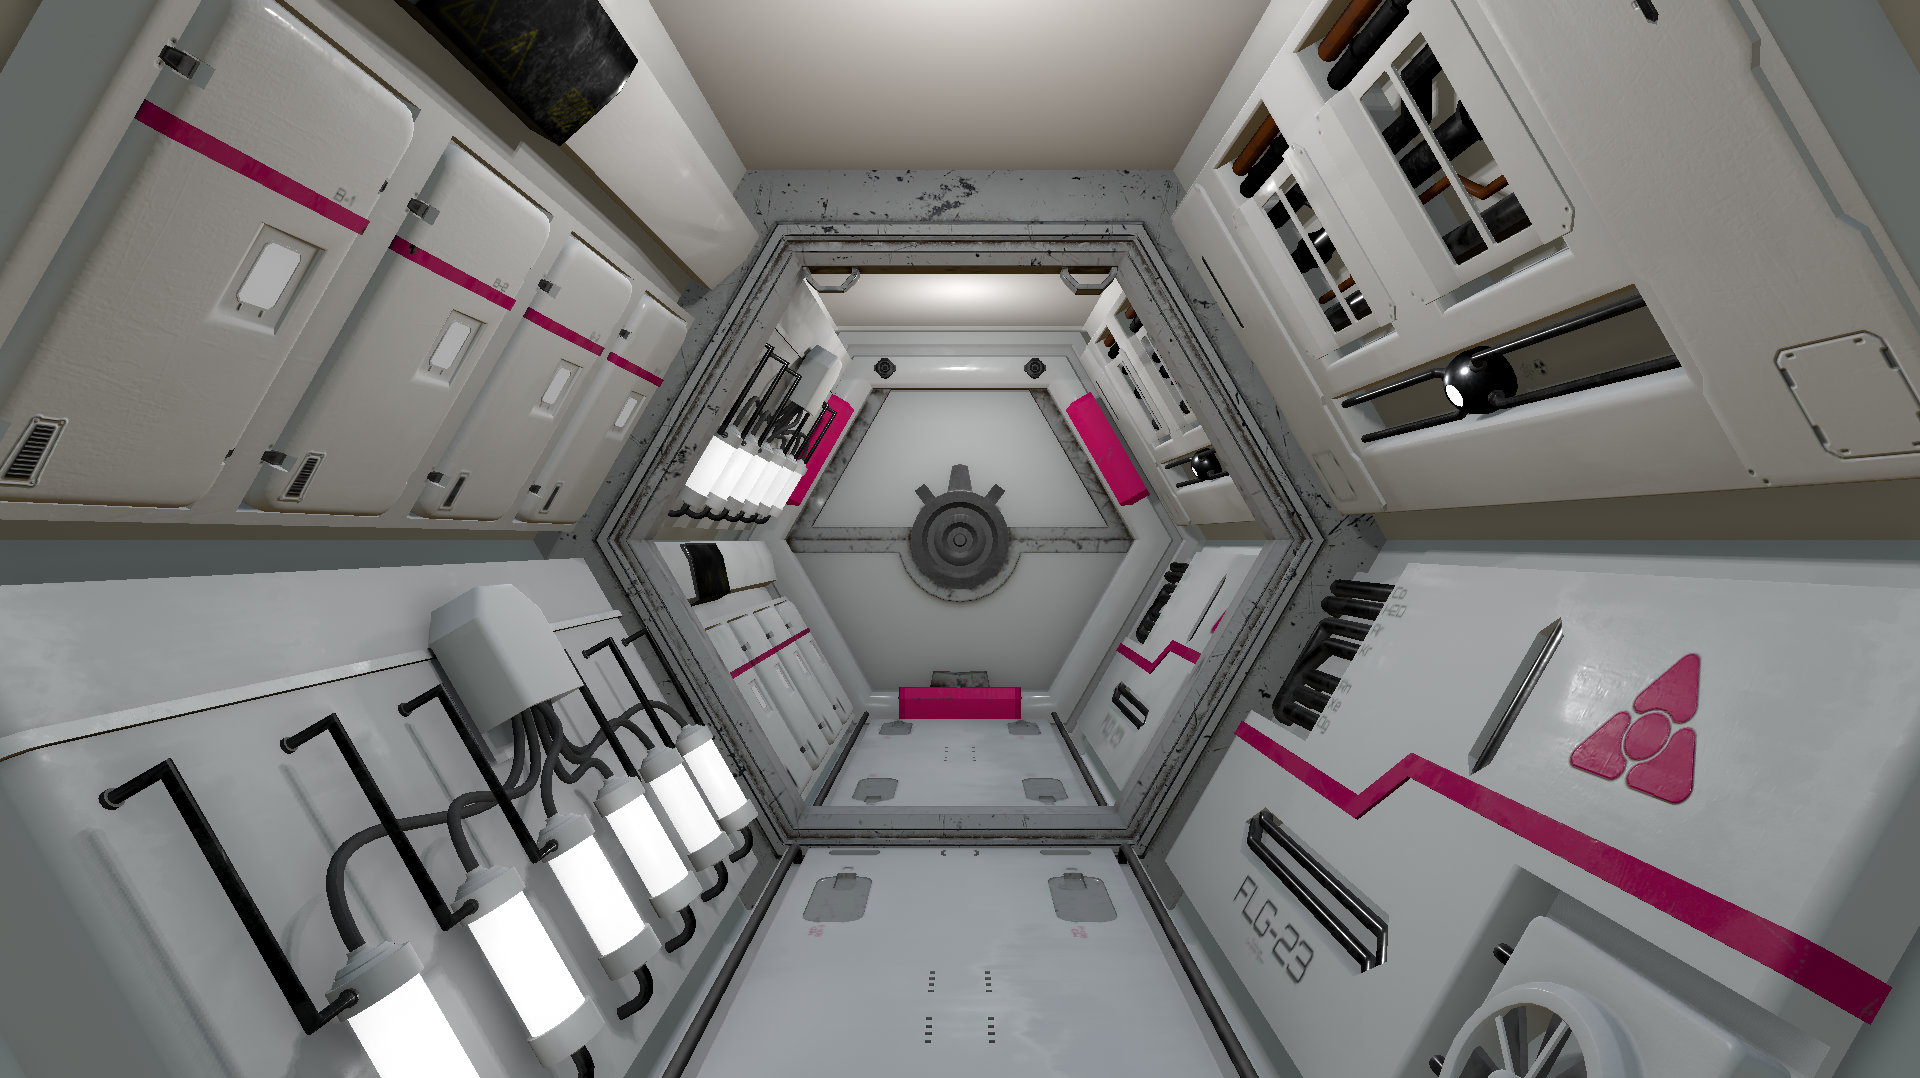
Ambient Occlusion
Auto Exposure
This effect is most interesting when you work with environment scenes that have drastic changes in lighting. This works like the Auto exposure on your smartphone camera, it adjusts the brightness of the image based on lighting. For the scene at hand it does nothing.
Depth of Field
By default, cameras in Unity draw everything perfectly crisp. But if you look at recordings from cameras in the real world, that rarely is the case! Especially in cinematic works depth of field plays a very important role in creating depth in the frame and focusing the viewer’s attention. Proper depth of field can help your works a lot! You can take care of adjusting the focal length on the effect to match the focal length set up on the camera or just use the effect more freely and artistically.
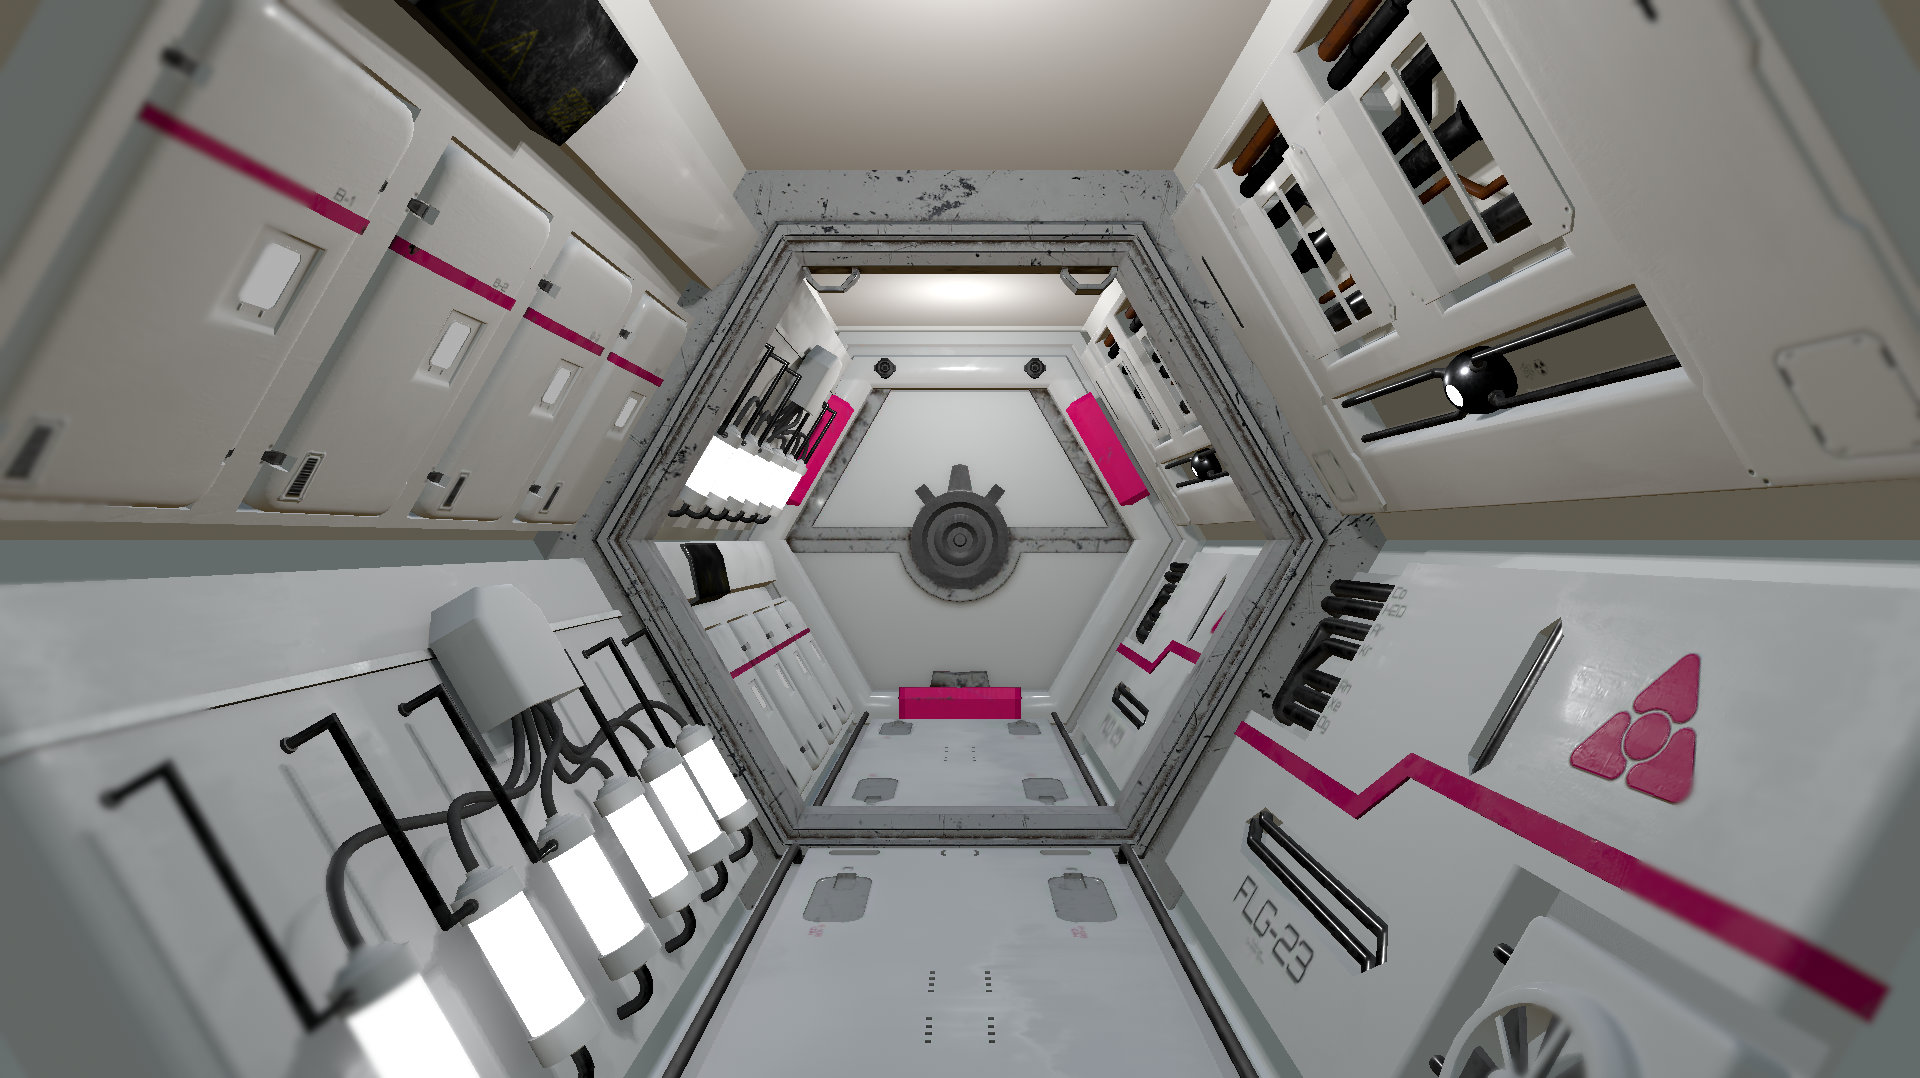
Depth of Field
Bloom
Bloom is an effect that you can sometimes observe in recordings from the actual world. Dazzling spots of light will create a halo effect. But if you look at recent games, you most definitely have seen bloom in effect. Mostly because it is heavily over-used. You would have to have terrible lenses when you have such strong blooming. This effect is also very prone to flickering because of the way Unity and other game engines calculate this effect.
So what I am trying to say: Use bloom if you must, but contain yourself!
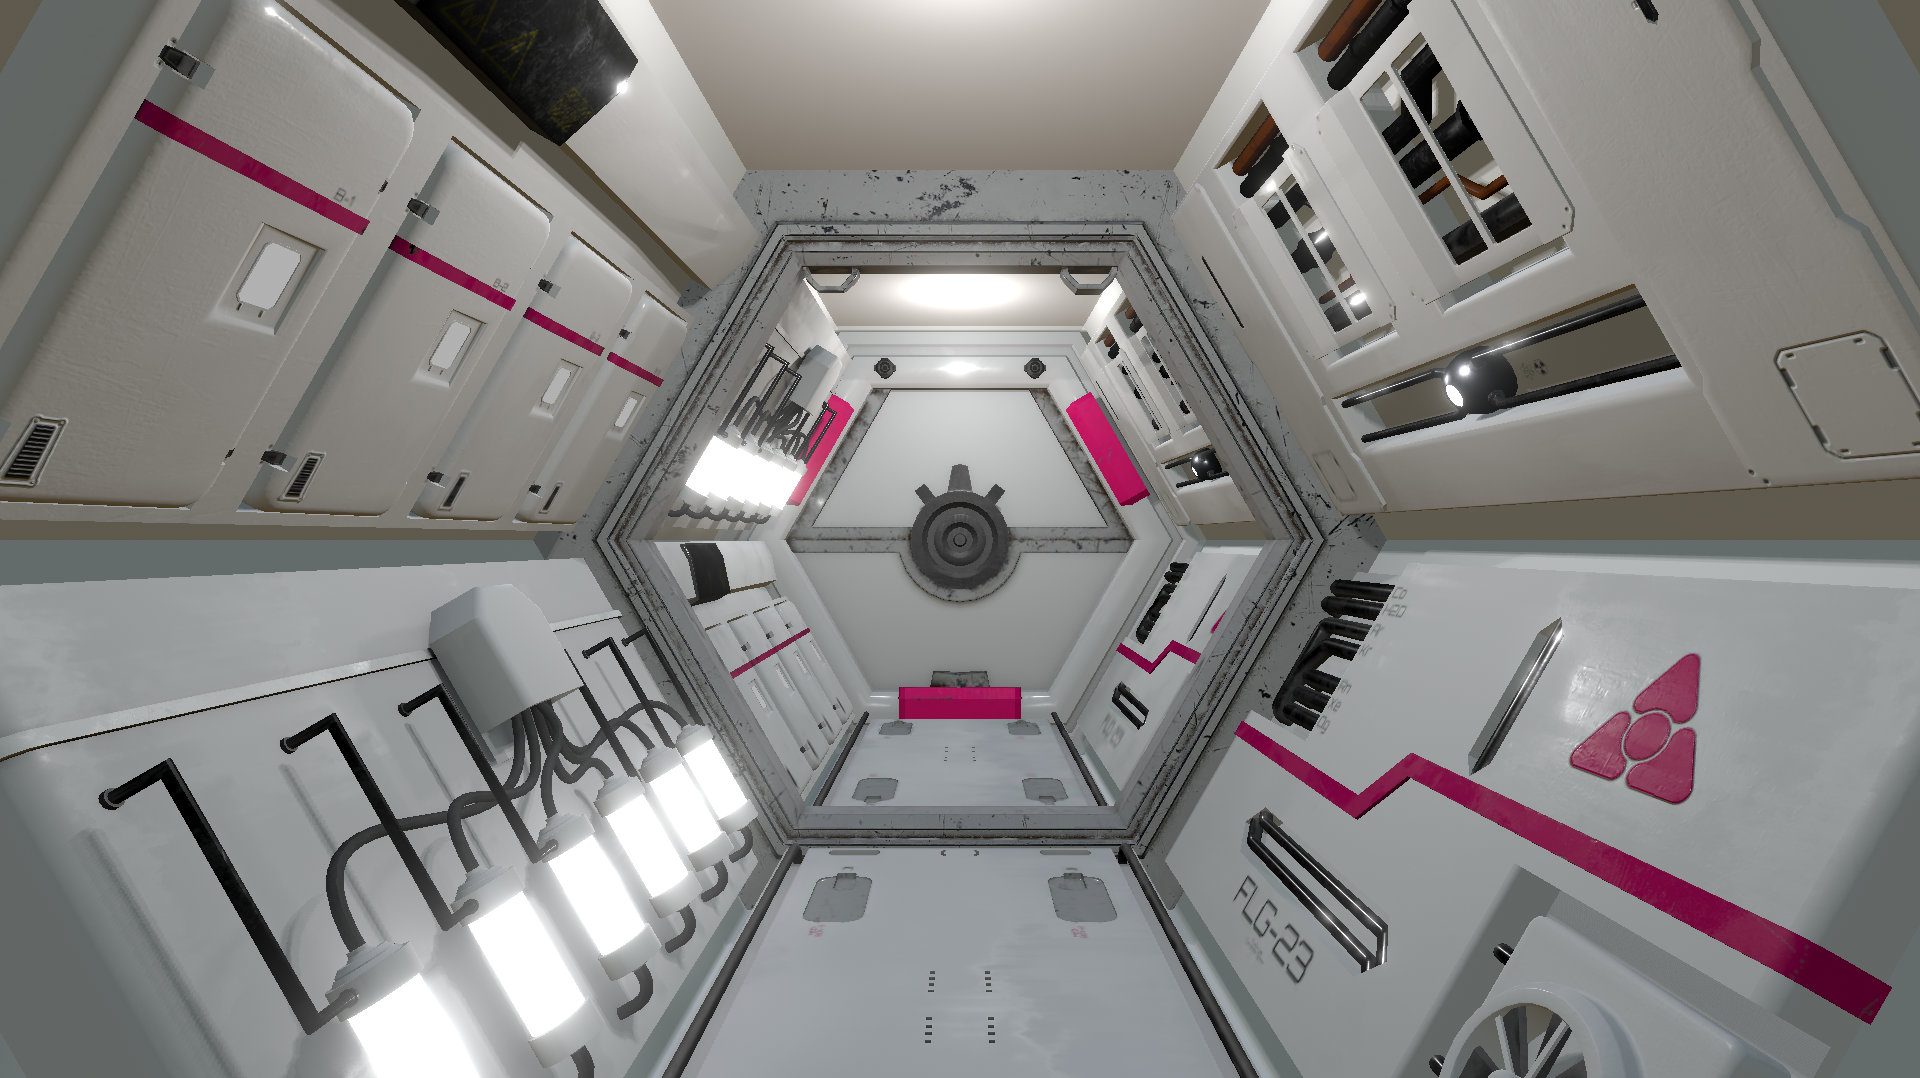
Bloom
Chromatic Aberration
Chromatic Aberration is aiming to recreate the prism like effect camera lenses have mostly at the outer edges of the image. This effect is typically stronger in cheap lenses or lenses that have a very wide field of view. So this suits it well for anything that mimics surveillance cameras or something like that. In most cases I would advise to use this effect very subtly.
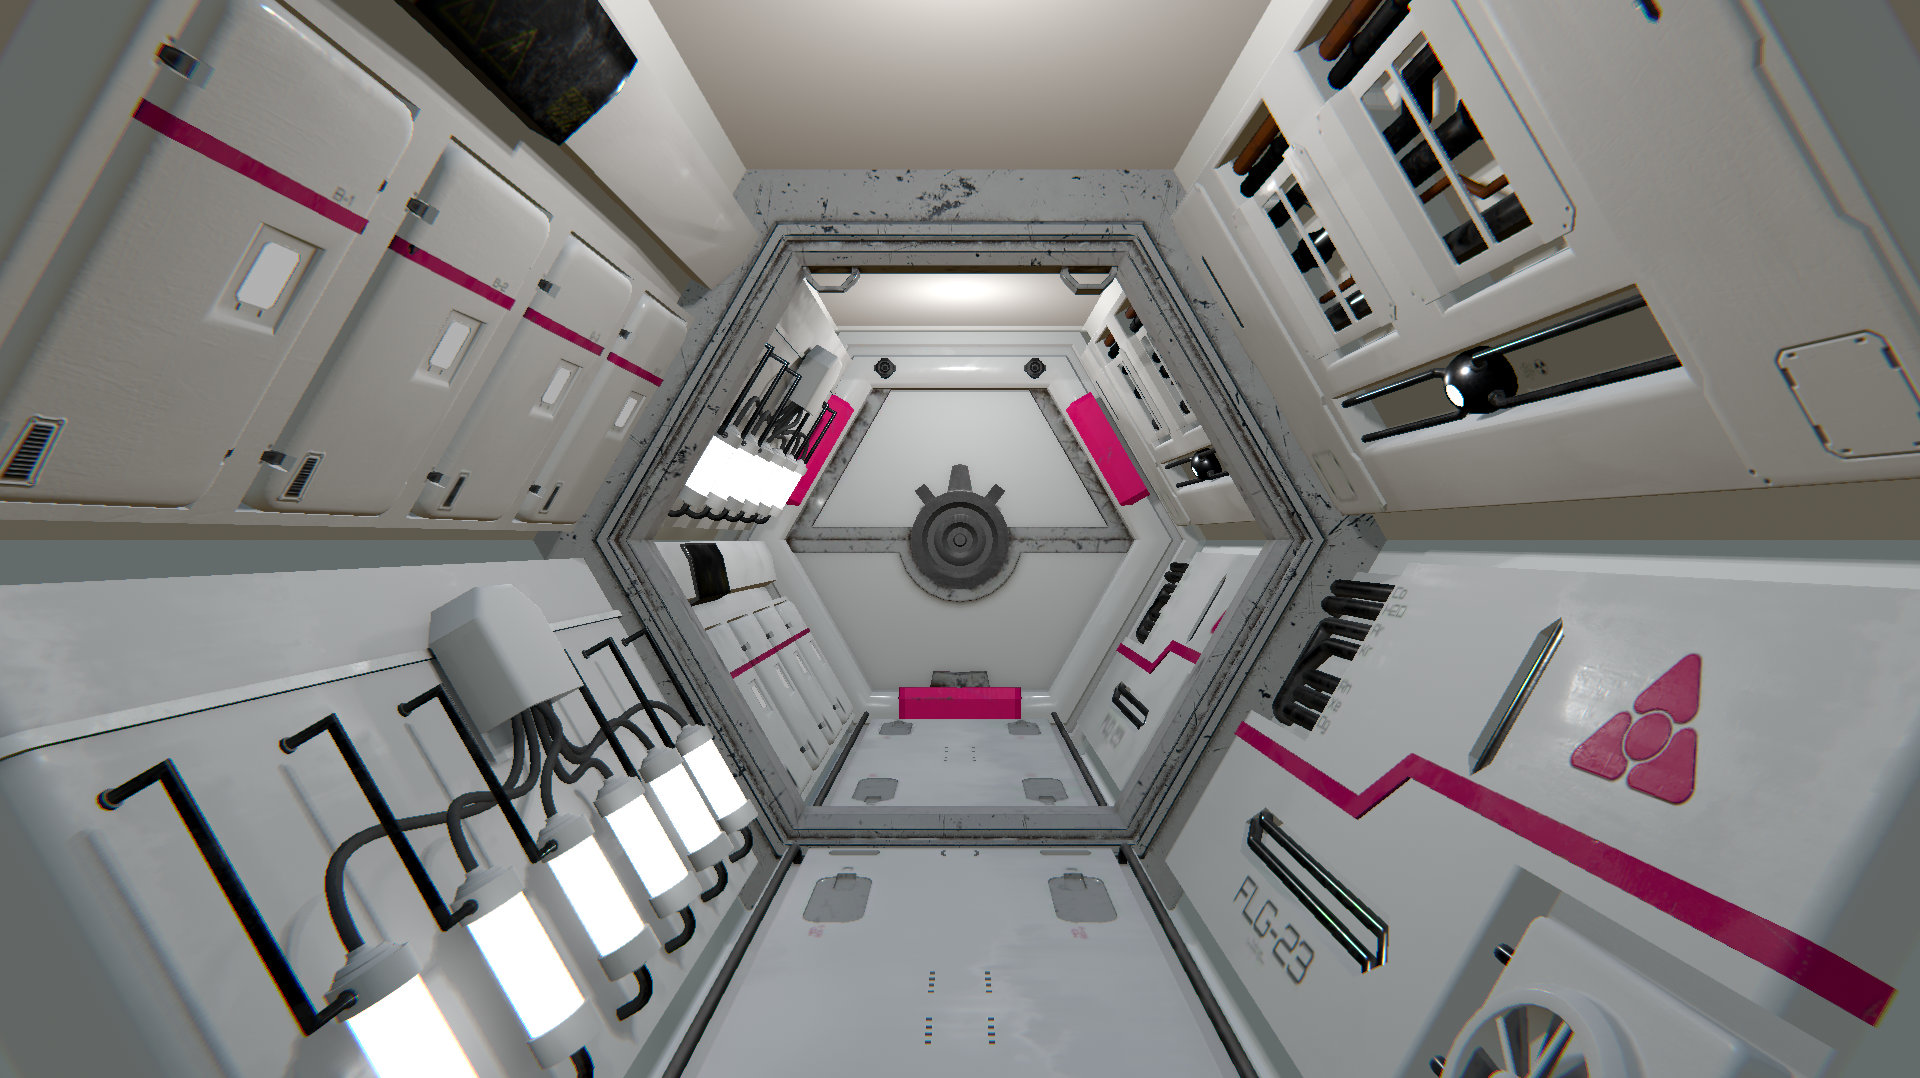
Chromatic Aberration
Grain
Grain emulates the slight noise that almost every recorded video or film material has. I am a big fan of grain, but I have a home in film compositing, thus I am biased. Grain can help to break up harsh rendered edges and kinda “mush” things together, that otherwise have problems fitting together. If you use it, male sure it does not impose it self onto the viewer.
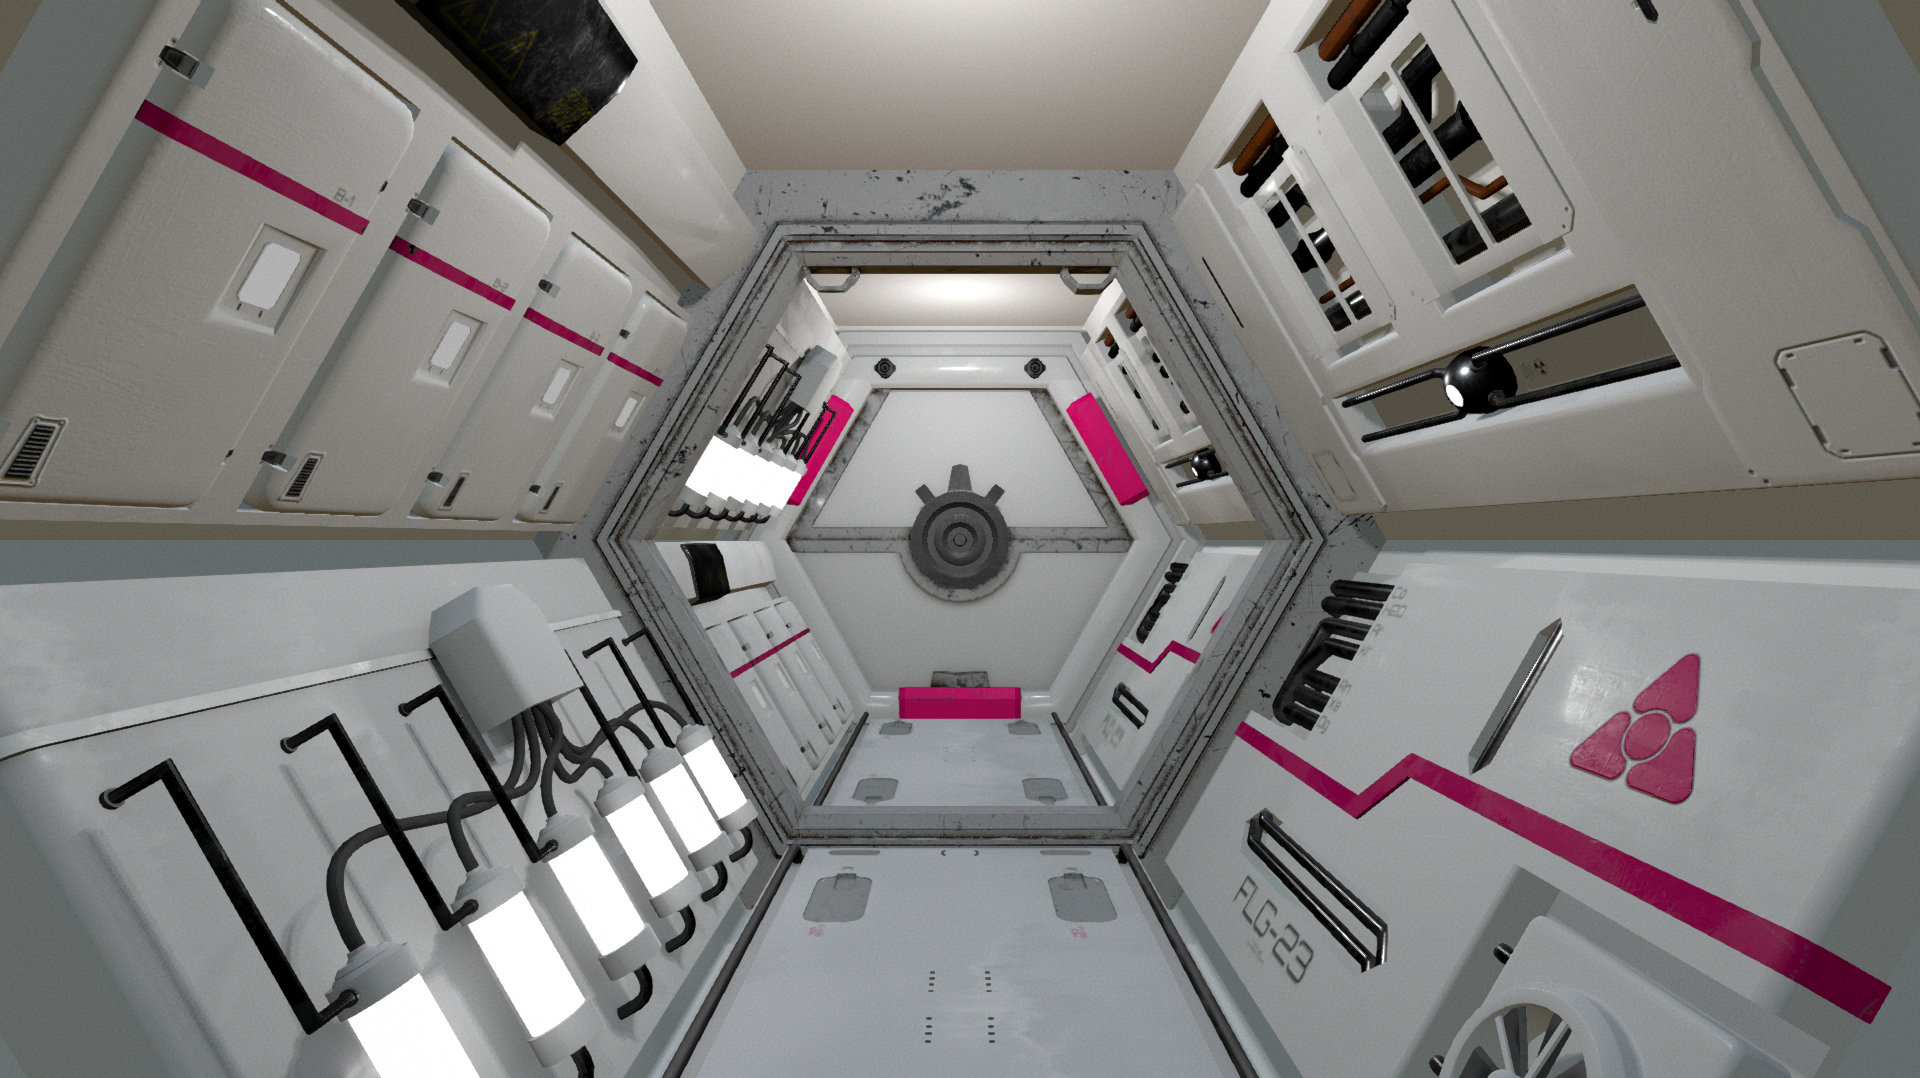
Grain
Lens Distortion
Lens Distortion is yet another effect that tries to mimic problems of the actual world. This will warp the image from the center in either direction. While you should tread lightly when using this in most cases, going crazy with the scale slider can yield interesting results I guess.
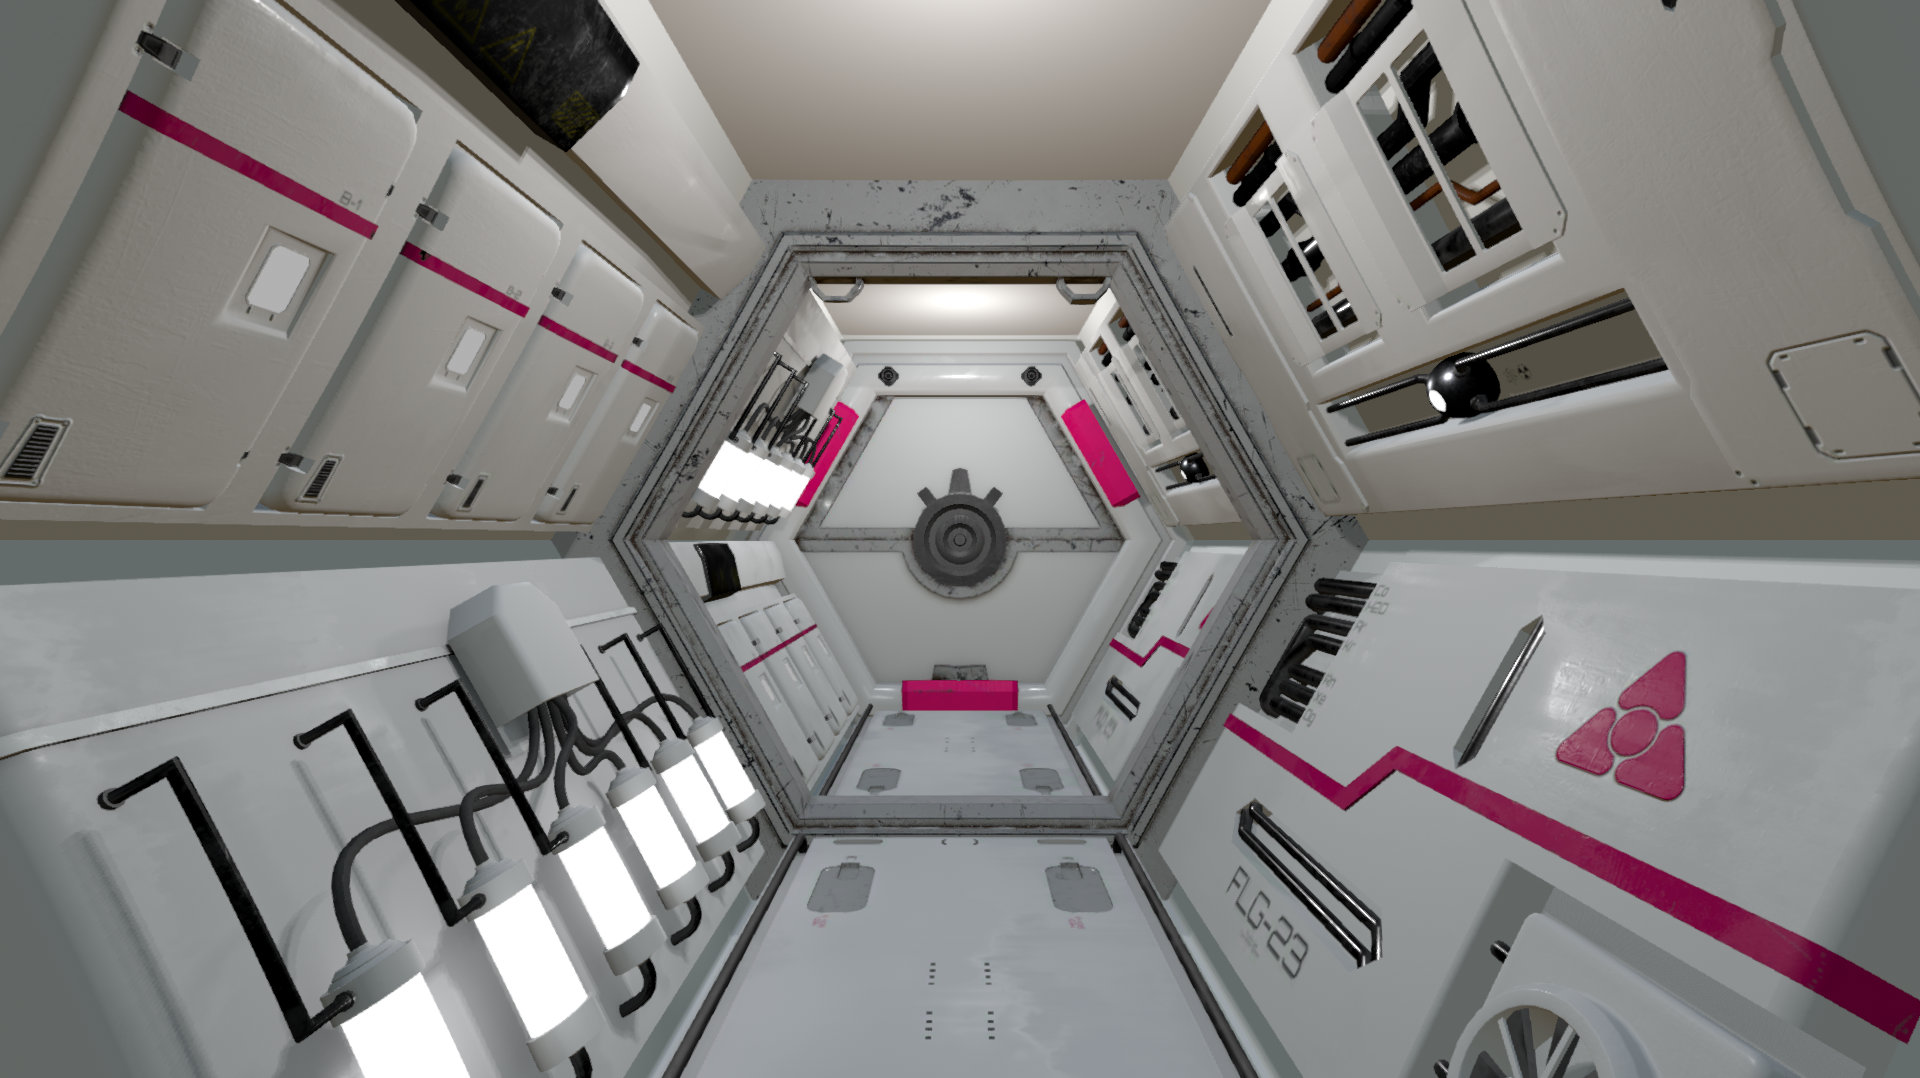
Lens Distortion
Motion Blur
Motion blur fakes the effect of the time of exposure when shooting images with real-world cameras. Classic film cameras have a rotating shutter which is necessary to allow the camera to load the next frame. The fake in Unity uses the term “Shutter Angle” to set the length of the motion blur. A shutter angle of 360 would blur the full frame and would not be possible in the actual world. Anything between 90 and 270 is probably reasonable. The Sample Count defines the Quality of the motion blur. More samples, more quality - worse performance.
Vignette
The Vignette Effect mimics a problem with real-world camera lenses. Because of the construction of camera lenses they lose some brightness of at the corners of the frame. This effect is typically very subtle, but digital artists have realized that this also helps to draw the viewer into the center of the frame, as we look at the bright elements. The best way to check this out is probably by adding the effect and pushing the “Intensity” slider all the way to 1. Then pull it back down - and then pull at least 30% off. There is a tendency to exaggerate with this effect.
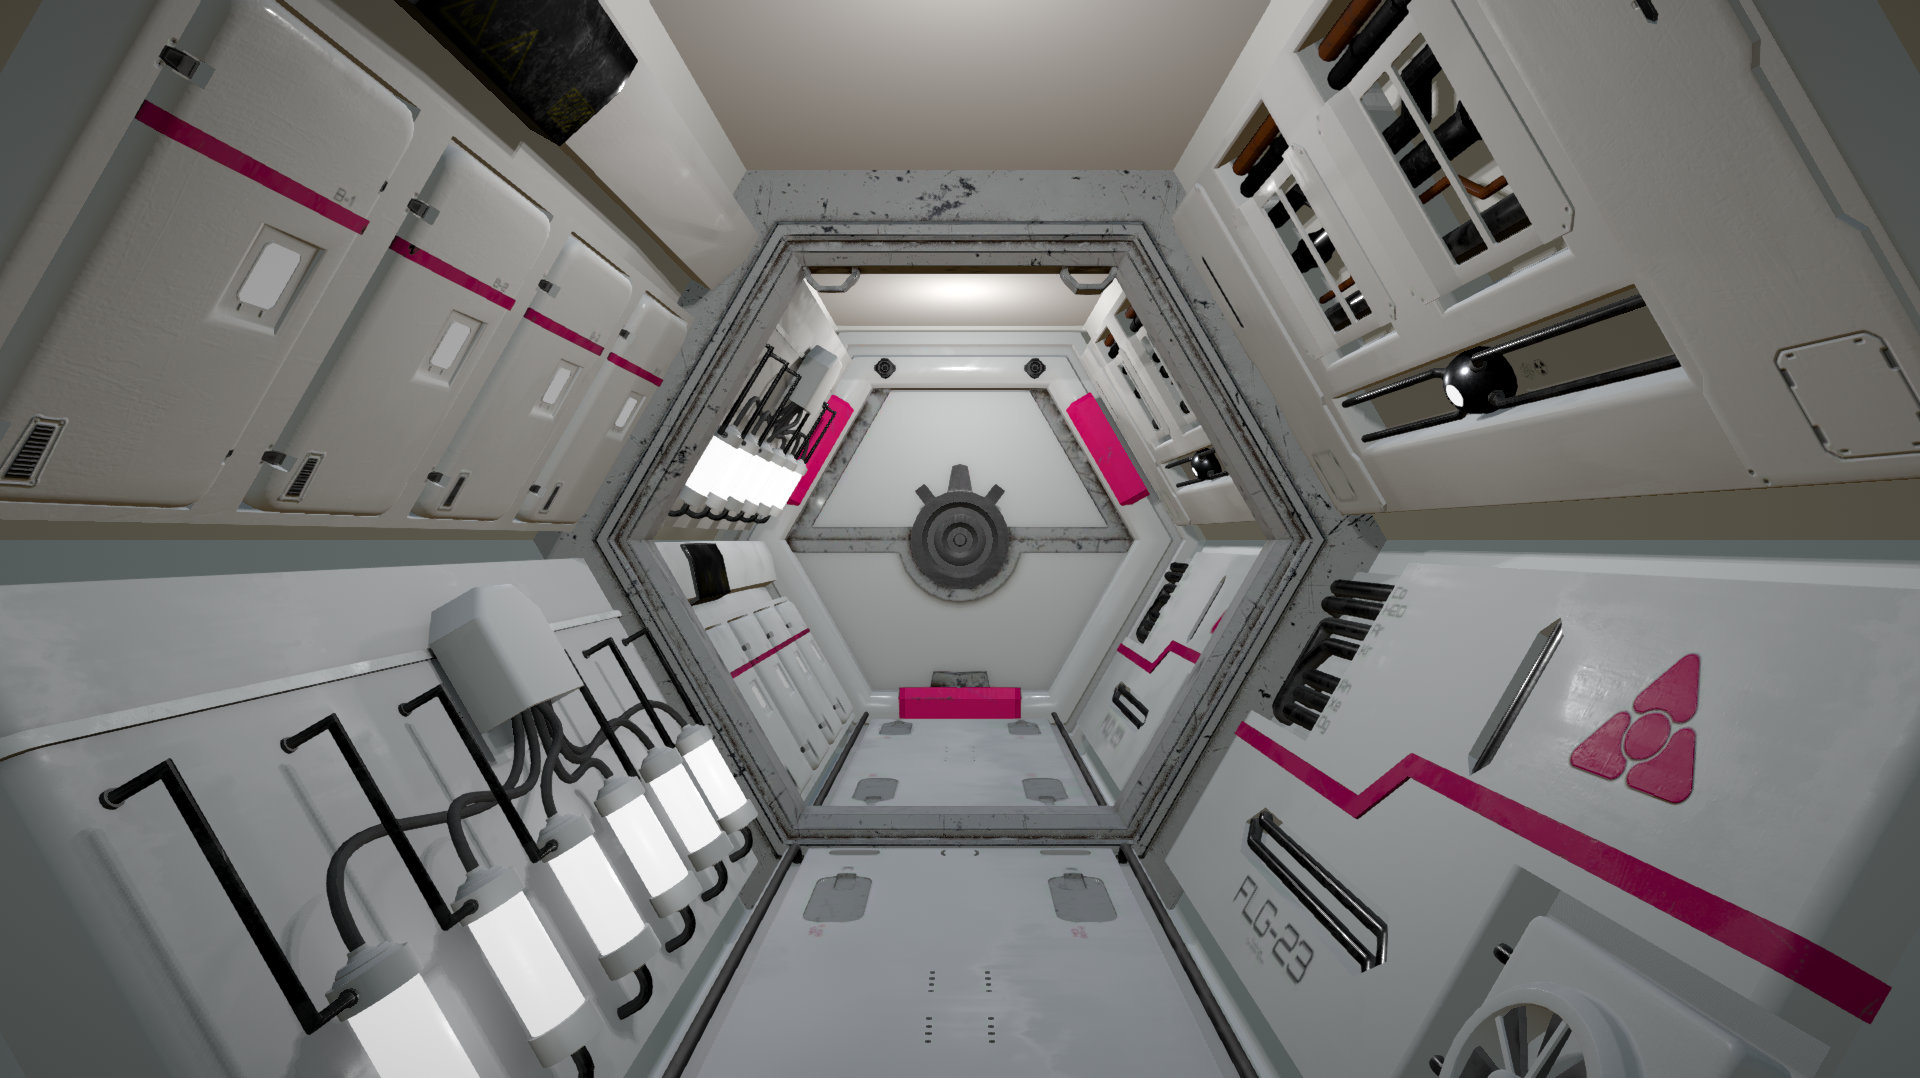
Vignette
Color Grading
I kept the most exciting Post Process for the end - and this is the only tool I’ll go over in significant detail. Color Grading is a powerful tool and has become an absolute standard in any kind of video production. Having access to this in a real-time engine is fantastic. Color Grading allows us to change the colors of the entire scene to set the mood of our scene perfectly. You can affect in a very granular manner or go completely nuts with it.
The first thing you will have to choose is the “mode”. If you render in HDR (high definition range) go for it. If you are using more stylized stuff you can keep things LDR (low definition range) and probably save a frame or two.
Next up is tone-mapping. This is very important when you render your scene in HDR. This determines how bright and dark values are handled and faded of when preparing them for display on your typical low dynamic range screen. You can either choose one of the presets or create your own. Neutral will try to not change hue and saturation while tone mapping.
Leaving the technical stuff to the side, let’s go on to the fun stuff! First up is White Balance. White balance will affect the Color Temperature and Tinting of your scene. This slider is a little confusing as it maps from 0 to 100 and is then affecting your scene in the direct opposite way you might expect it. Normally Color temperature is defined in degrees Kelvin and lower temperatures give warmer tones, while a higher color temperature would cause a boost of cooler colors. So while Temperature works between the orange-ish and blue-ish values, Tinting will shift between green-ish and purple-ish colors.
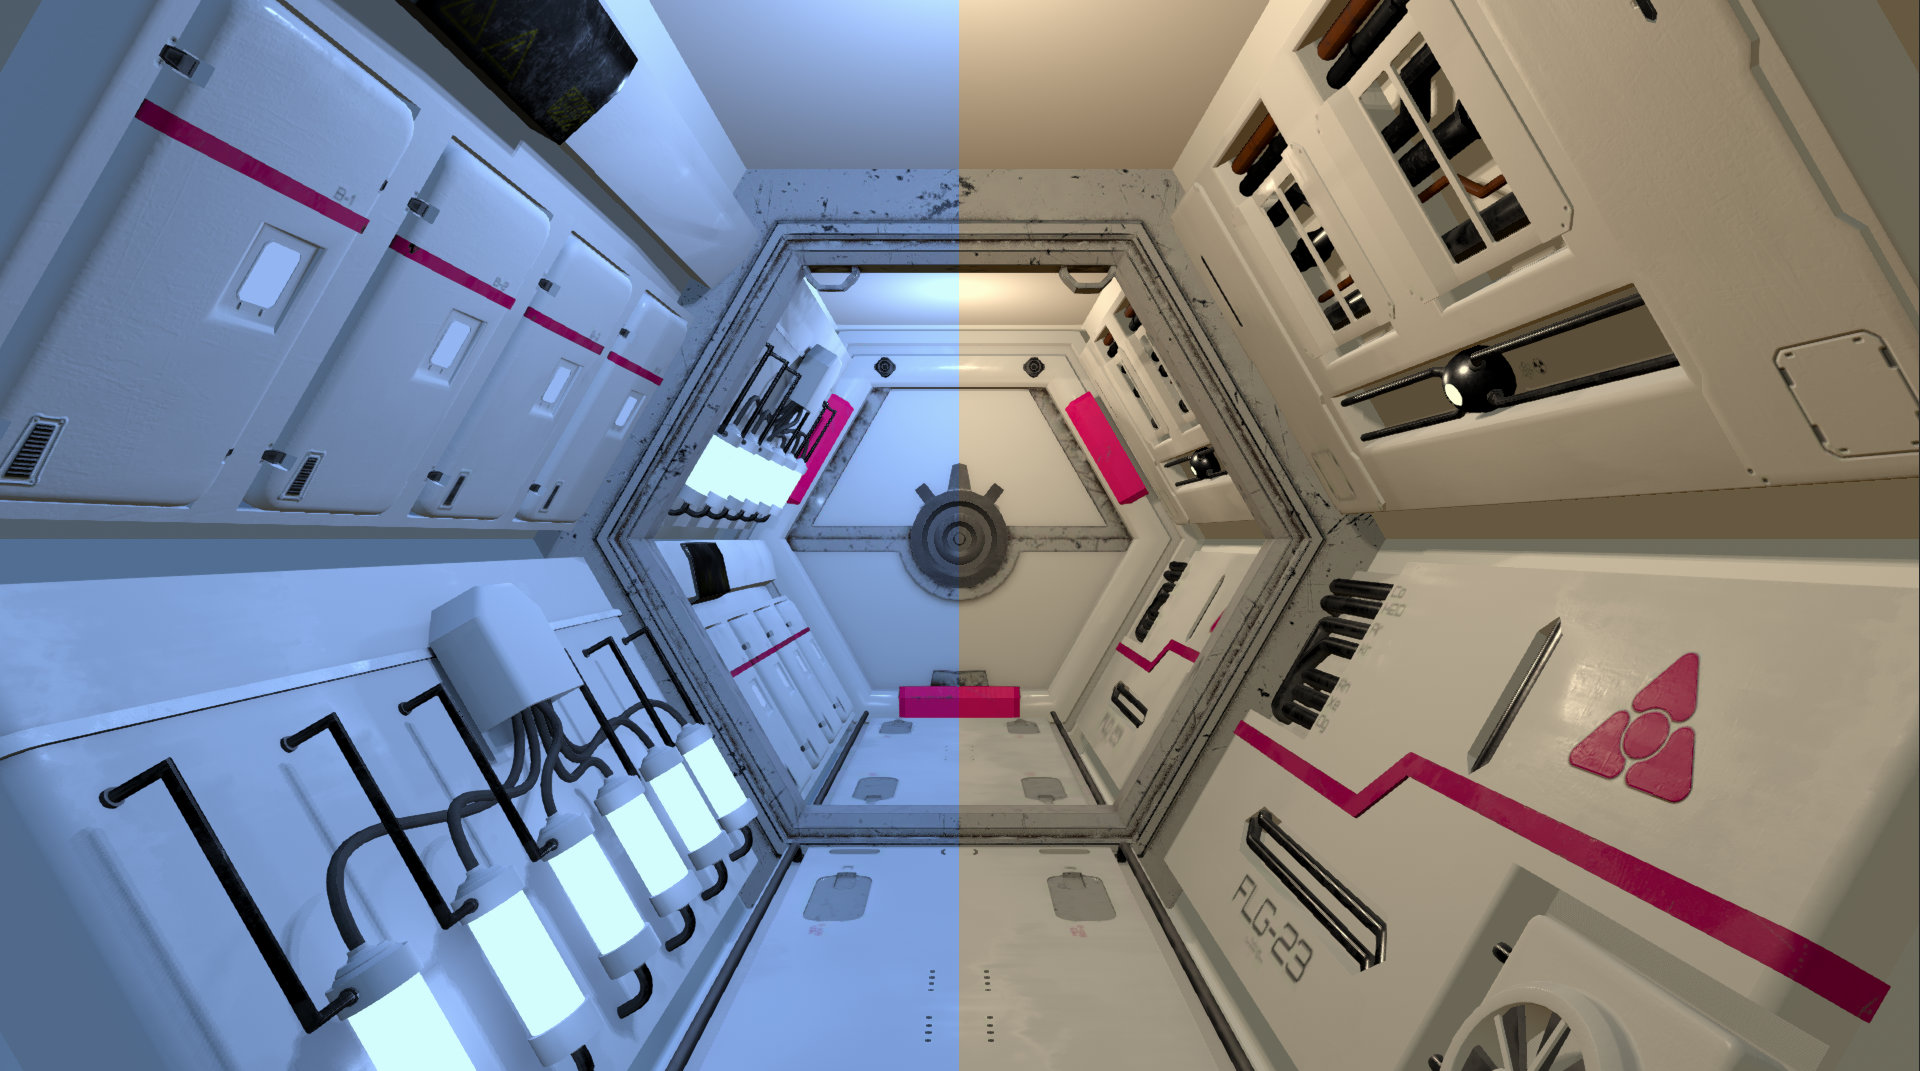
Cold and Warm
In the “Tone” section the first option is exposure, if you are in the High Definition Range Mode. With exposure you can affect the brightness of your image. 2 Stops is range would be values you would not exceed in a typical scenario.
The Color Filter emulates a colored filter in front of your lens. You can use this to tint your image in any way you want. While you could use this also to affect the brightness of your image, I would advise against it, as you have exposure for that kind of operation. Thus keep the color you choose at max brightness in your Color Picker.
The Hue Shift will rotate all the colors in your image around the color wheel. These are typically very unnatural effects and use these with care. In cinematic Color Correction tools you can apply masks and with these you can apply this effect way more granular and thus way more useful.
In our example scene, we can use this to change the accent color. This works seamlessly because the rest of our scene is color less.
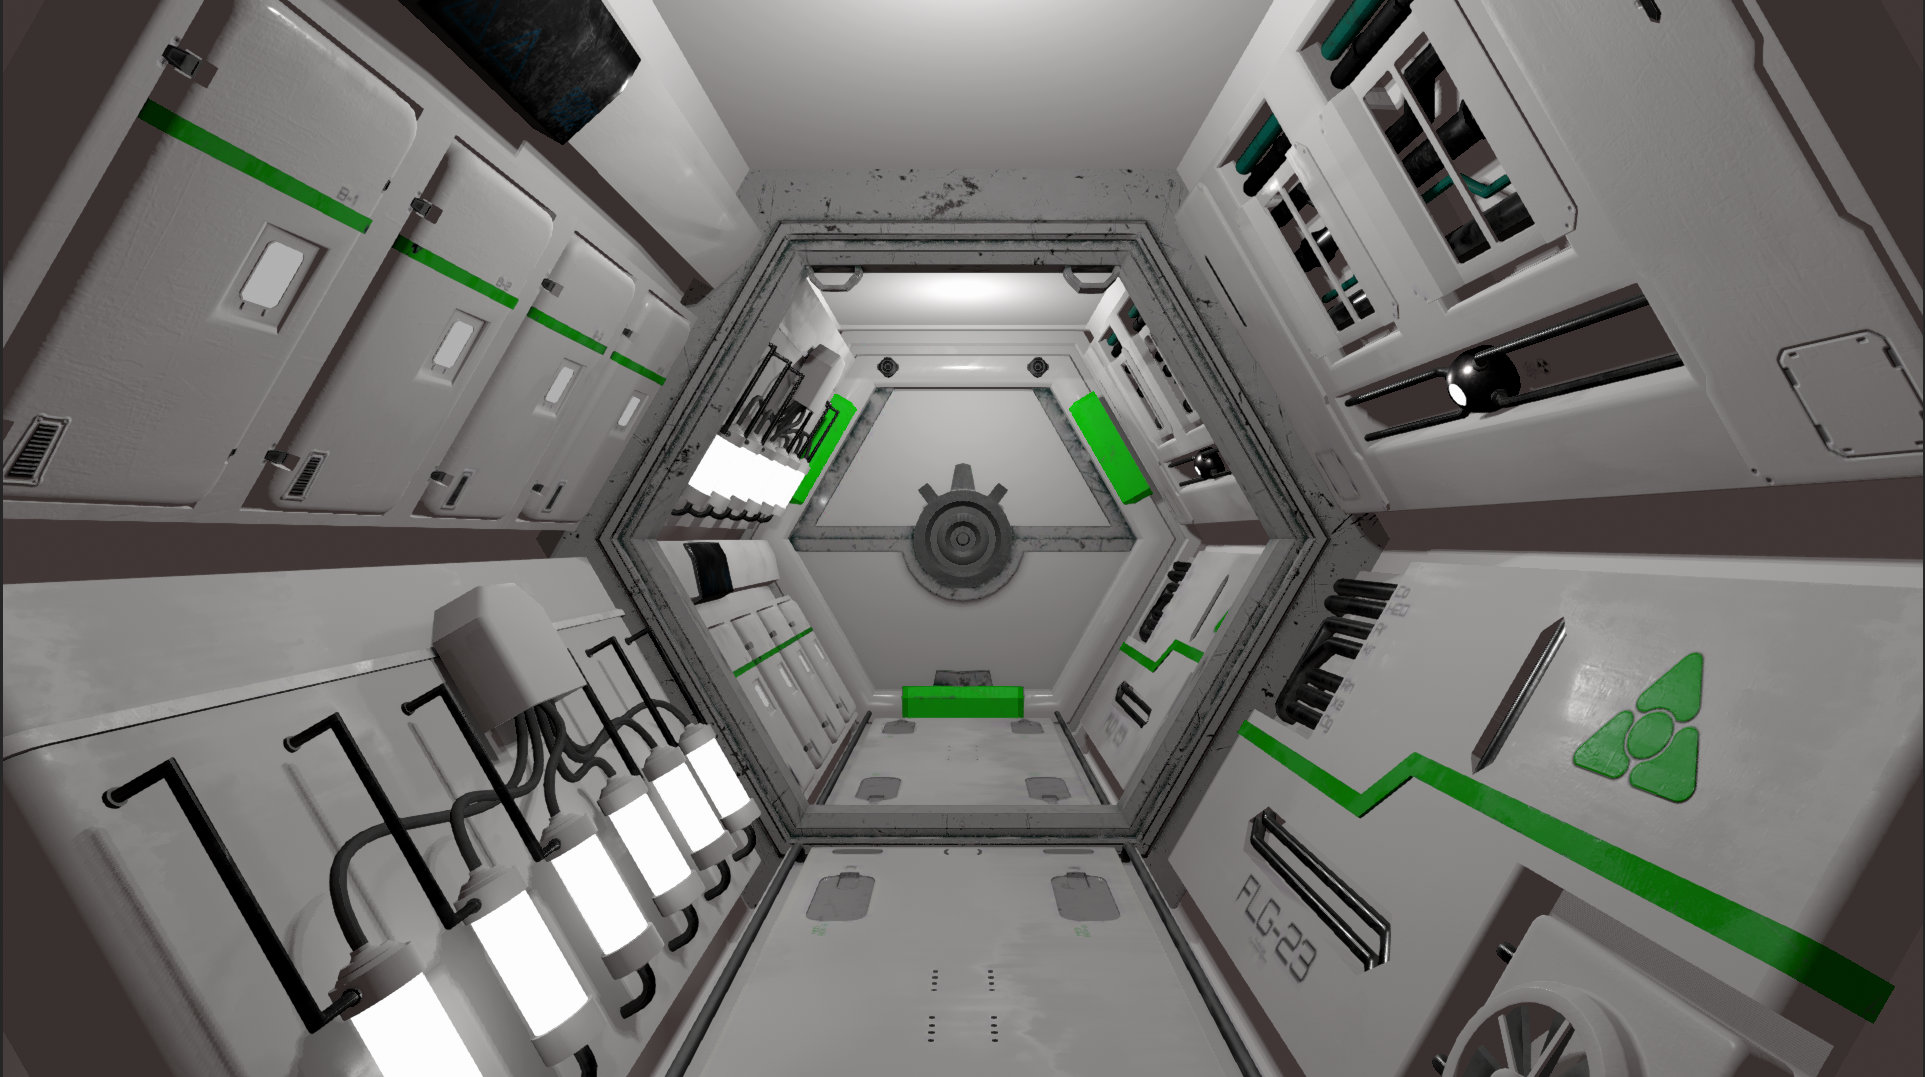
Hue Shift
Saturation is obvious, I guess. This will help you create a super vibrant world, or just the contrary.
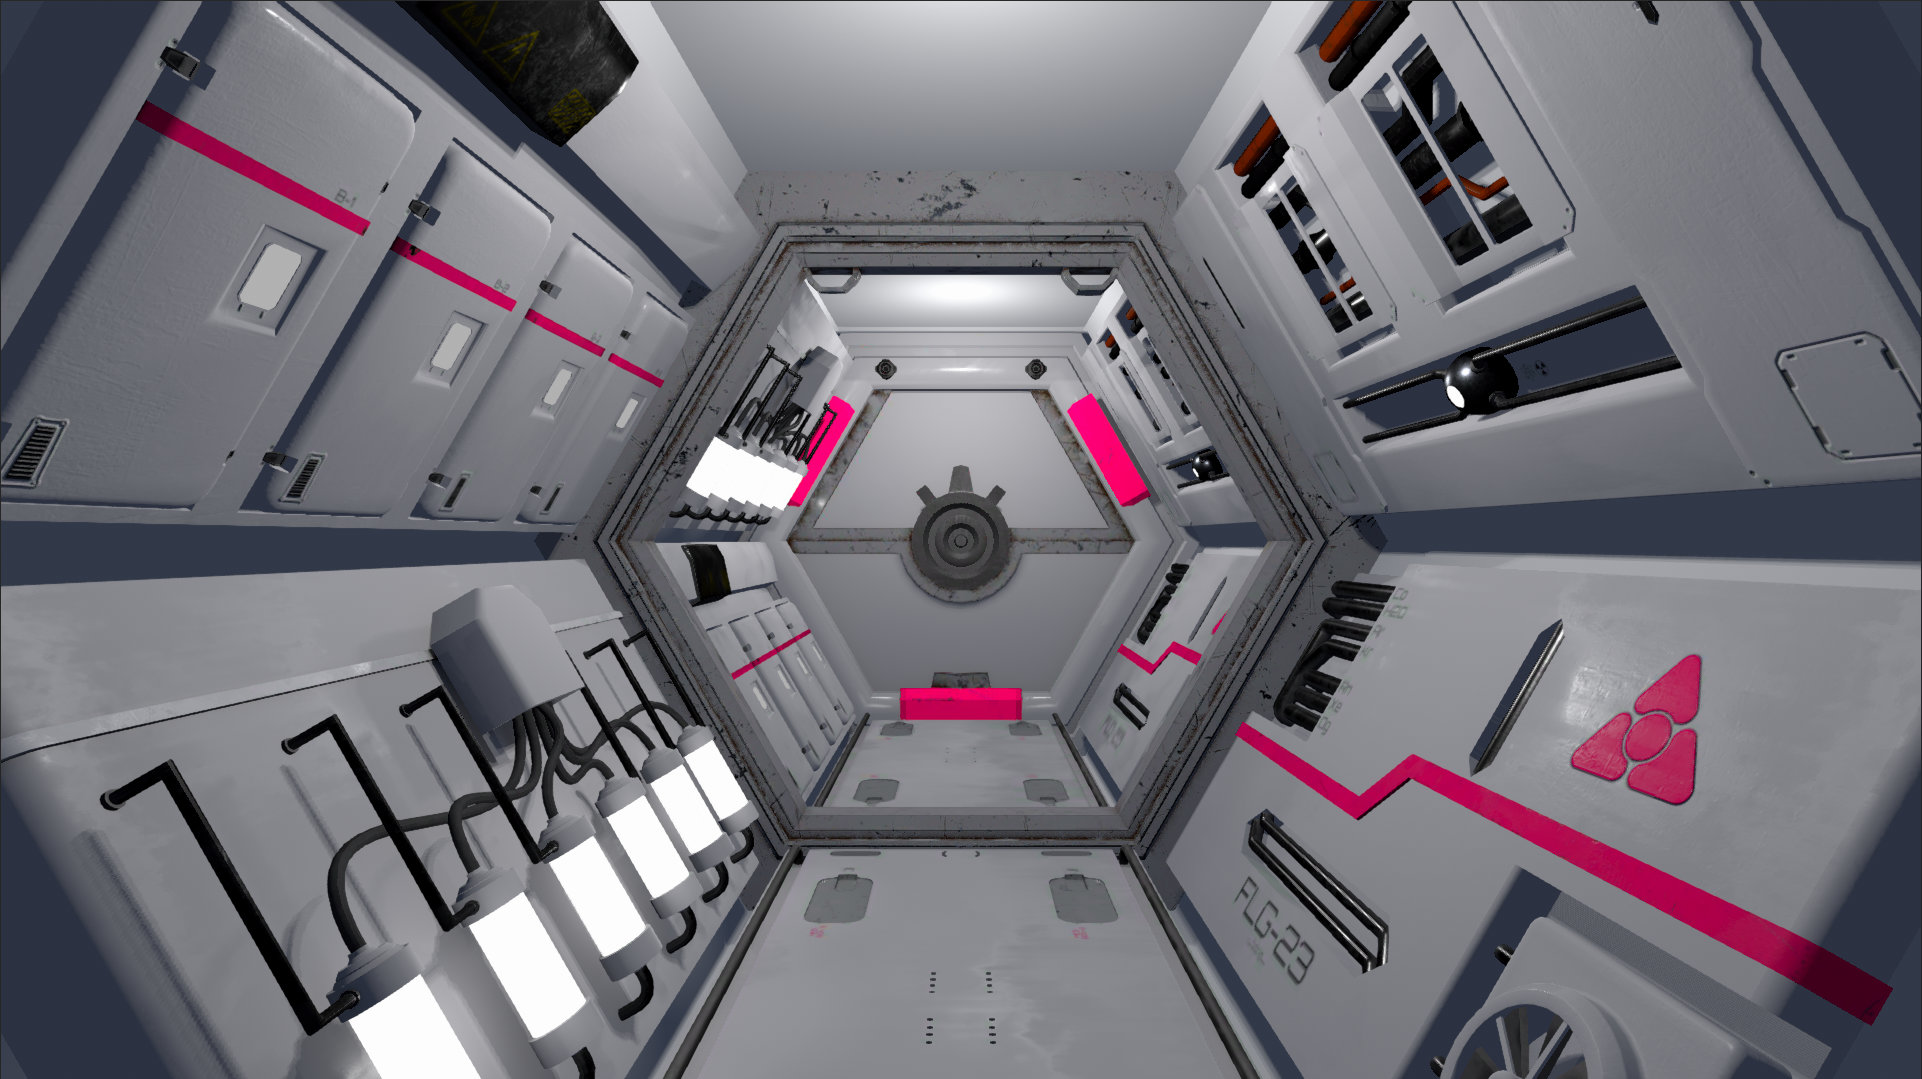
Maximum Saturation
Increasing contrast will boost the bright areas even further and darken the darker areas. Decreasing contrast will “flatten” your image.
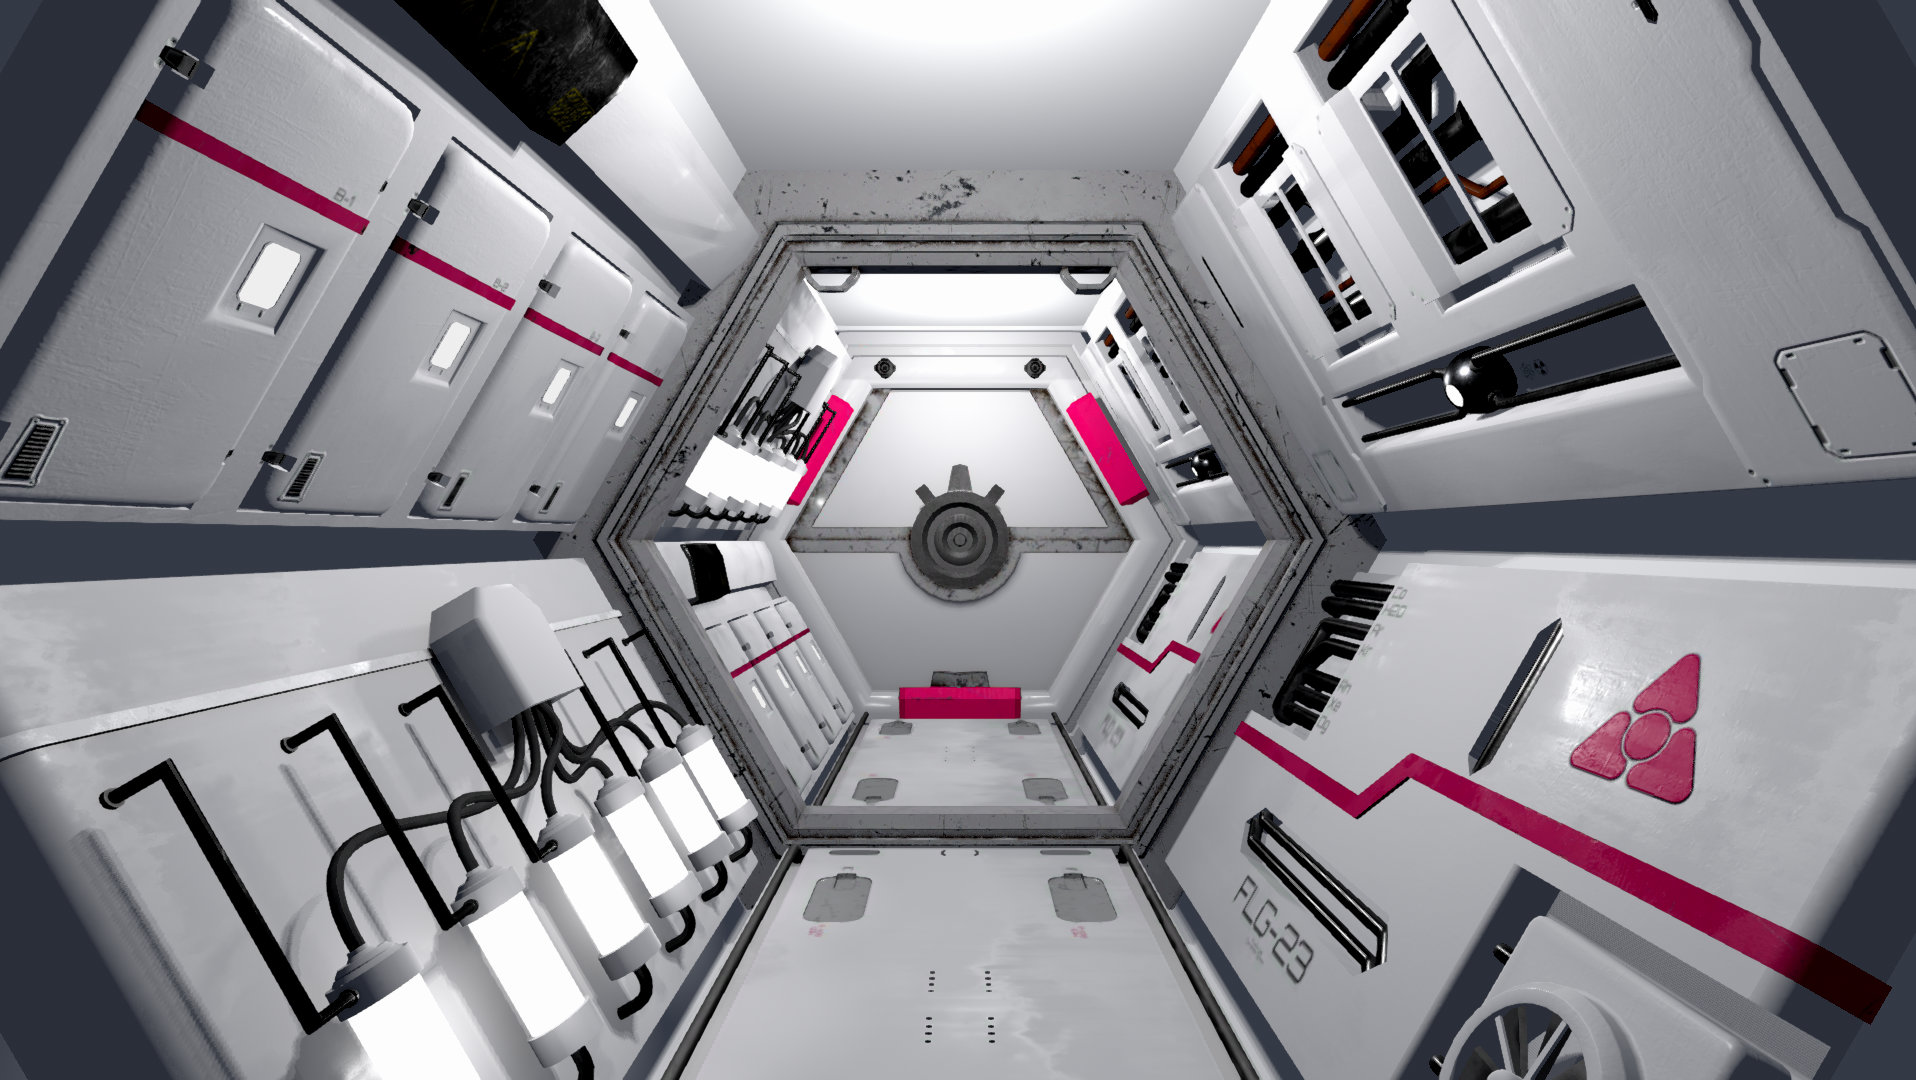
Increased Contrast
The Channel mixer is a more technical effect once again. It saves rendered images in three color channels: Red, Green and Blue. With the channel mixer, you can define the contribution of each channel to one channel. For example, you could create a black-and-white image just based on the information of the Red Channel.
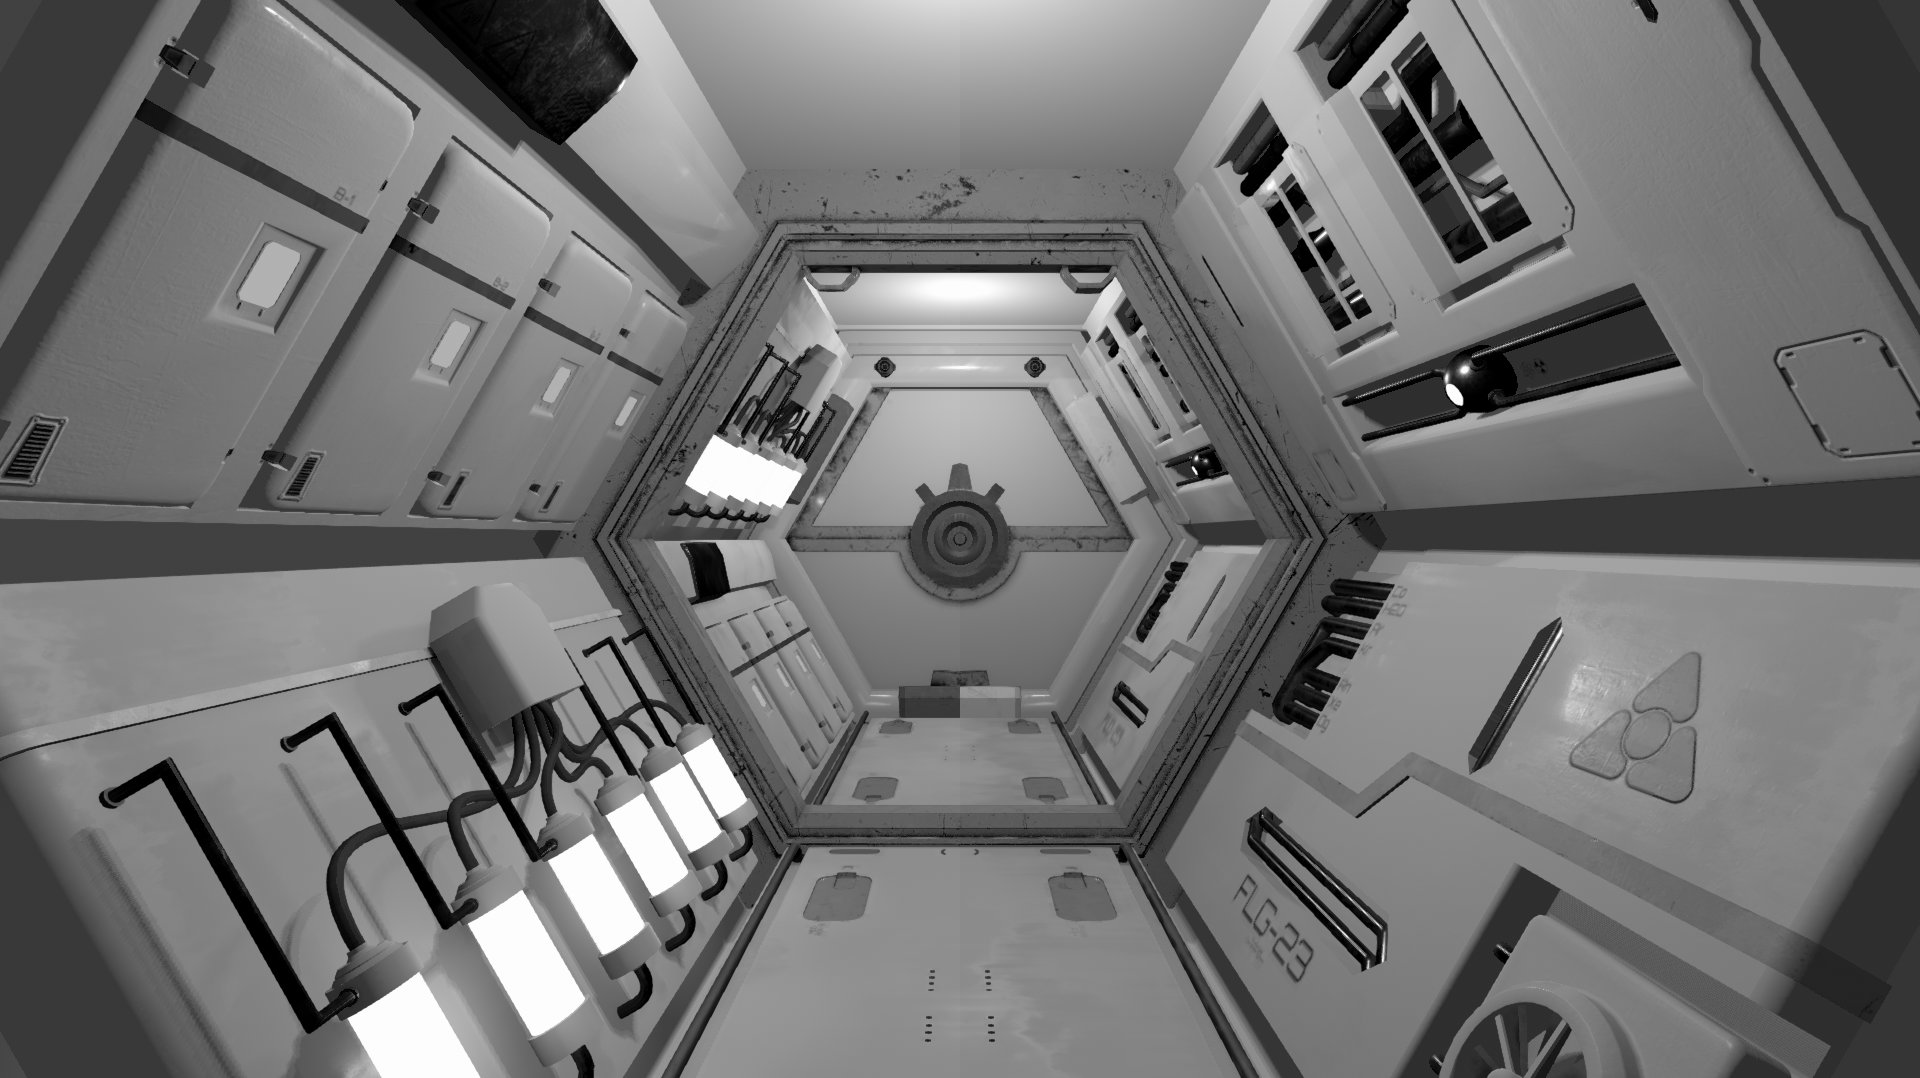
Black and White image based on blue (left) or red ()right only
The Trackballs are use for fine tuning the colors of your image. With the Color picker-like circle you can define the color which you want to boost. The slider below will let you increase or decrease the overall brightness for that range.
The Lift Wheel will work on the darker areas of your image. Gamma will attack the mids and Gain will work on the highlights of your scene.
Playing with these can really get you some interesting results and they are a very nice tool to have available as an artist.
ColorGrading using the Trackballs
The most granular tool at your disposal are the “Grading Curves”. If you know any Photo processing software, you might have seen them. What’s important to note is that the Master Curve and Red, Green and Blue Curves are only available in the Low Definition Range Mode.
In high definition it leaves you with “Hue vs Hue”, “Hue vs Sat”, “Sat vs Sat” and “Lum vs Sat”.
With “Hue vs Hue” you can shift around colors just like the Hue Shift. But you get additional control. You could for example only shift the red values into a more orange-ish tone.
“Hue vs Sat” will allow you to desaturate certain color ranges.
“Lum vs Sat” will allow you to affect Saturation based on the brightness or luminance.
“Sat vs Sat” may be the most odd of these effects. With this curve you can saturate or de-saturate ranges based on their current Saturation.